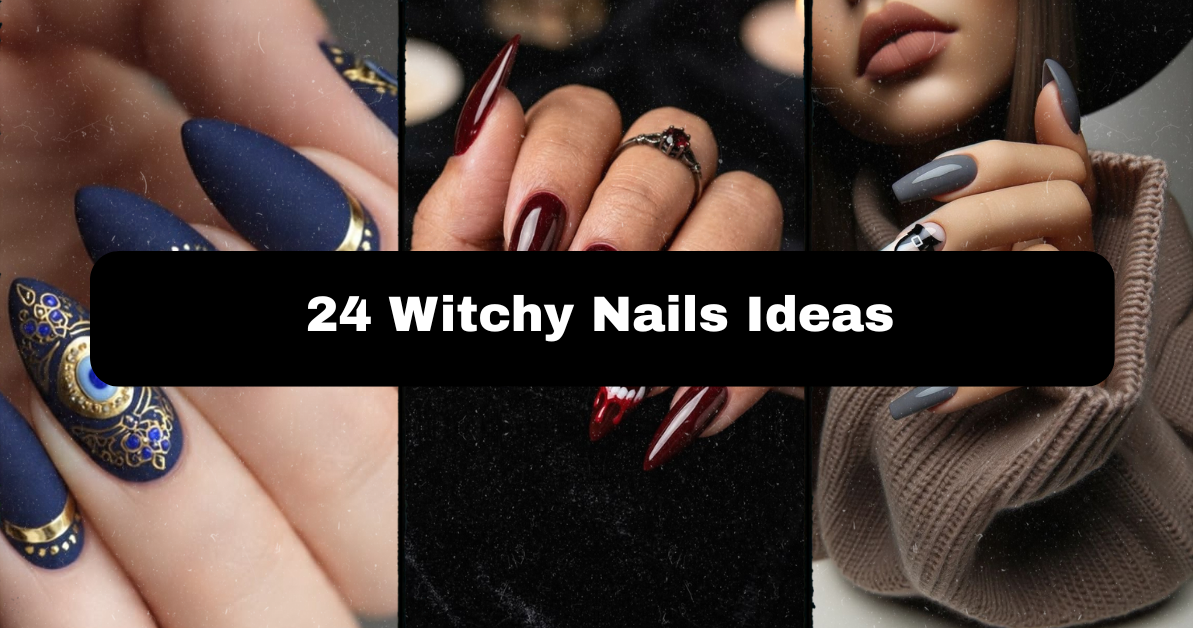
24 Witchy Nails Ideas That Will Cast a Spell on Everyone
I have done my fair share of painting, sticking, and glitzying nails to come up with different styles and techniques. The Witchy Nails Ideas trend stands out among others since there is an endless possibility and fun factor involved. These tips derive from firsthand experimentation using paints, gel formulas, nail accessories, and current research on what witches are doing in the nail arts world.
What are Witchy Nails Ideas? As mentioned earlier, these nail art creations draw inspiration from witchery themes such as magical elements, lunar cycle illustrations, feline images, potion bottles, and gothic design features. In most cases, the manicures feature dark-colored polish combined with gold or silver detailing to create something otherworldly.
Please continue browsing for twenty-four witchy nail designs, a comparison table, helpful recommendations, and pitfalls to avoid during the crafting process to make sure that your manicure will be absolutely mesmerizing.
What Makes a Manicure “Witchy,” Anyway?
Now that we’ve established how witches nail styles really are, let’s take a look at some popular designs for Halloween. First off, to achieve the witchy style, don’t only think about painting your nails black. A proper witchy design incorporates deep, dark colors such as plum, forest green, or midnight blue along with the metallic tones of gold and silver. Common themes among witchy nails include elements of the lunar calendar, stars, tarot symbols, as well as creepy animals like spiders or bats. The texture of the nail also plays an important role – the matte finish resembles a spell book, while glossy or chrome nails remind of a potion bottle.
1. Classic Black Cat Nails

If there is anything more witchy than a cat silhouette design with a matte black background, we have yet to see it. This nail art design is a surefire success due to its simplicity, creepiness, and easy identification. Simply apply a matte black polish to your nails and add the silhouette of a small cat with a thin liner brush to one or two accent nails. You can also include tiny green or yellow dots to give the cat some eerie eyes. This design goes well with all kinds of nails – be it short almond nails or long coffin nails – whether you are looking to wear it to an everyday office job or to a Halloween party.
2. Moon Phase Nails

The lunar phases nail art is one of the most beloved designs by witchy nail enthusiasts due to the story that it tells through the whole set of fingernails. Each nail has a specific phase of the moon from new to full moon with colors varying from white or silver with black or navy backgrounds. Apply the circles with the help of dotting tools and the crescents with a very small brush. This nail art design would look fabulous on medium to long nails as there will be enough space to create them.
3. Spooky Spiderweb Nails

The webbed nail design creates an immediate feel of Halloween that is not too crazy. The nails have to be painted using either a dark purple color or black paint before white or silver paint is used to create lines forming a web. A small dot at the corner will form the spider. It is one of the best nail designs for short to medium length nails since it makes it easy to maintain the web design. It is a perfect choice for anyone who wants to appear creepy but at the same time, office appropriate.
4. Potion Bottle Nails

Potion bottle nails are for anyone who loves a little storytelling on their fingertips. Paint a small glass bottle shape on one accent nail, filled with a bubbling green or purple liquid, and add a cork on top. The rest of your nails can be a solid deep color like emerald or wine to let the bottle stand out. This design shines on square or coffin-shaped nails where there’s enough space for detail. It works wonderfully for fantasy lovers and cottagecore witches alike. Next, let’s talk about a design that’s a little more graphic and bold.
5. Pentagram Accent Nails

A pentagram nail is bold, symbolic, and surprisingly elegant when done right. Use gold or silver polish on a black or deep red base to draw a clean five-pointed star inside a circle. Keep it to just one or two accent nails so it doesn’t overwhelm the whole set. This design fits almond and stiletto shapes especially well since the pointed tip echoes the star’s angles. It’s perfect for gothic and edgy styles. If a full pentagram feels too intense, you can always shrink it down into a tiny charm using nail decals instead.
6. Deep Purple Ombre Nails

Ombre nails give you that magical, misty gradient look without requiring detailed artwork. Blend deep purple into black starting from the cuticle, fading darker toward the tip, using a makeup sponge for a soft transition. This technique works on literally any nail length or shape, making it one of the most forgiving witchy designs for beginners. It suits both traditional gothic style and softer, romantic witch aesthetics. Add a touch of shimmer polish over the top for a dreamy, twilight-sky effect. Once you’ve got ombre down, you’ll want to try adding some sparkle to the mix.
7. Crystal Ball Nails

Crystal ball nails feel like tiny fortune-telling devices sitting right on your fingertips. Paint a circular shape in a translucent white or silver-blue polish, then add swirling lines inside to mimic mist or magic smoke. A dark base color like black or deep gray makes the crystal ball pop even more. This design works best on nails with a flatter surface, like square or squoval shapes, since the circle needs room. It suits both mystical and elegant party looks. Pair it with a glossy top coat so it catches the light like real glass.
8. Blood Drip Nails

Blood drip nails are dramatic, a little gory, and absolutely iconic for Halloween. Start with a nude or white base, then use red polish to paint drip shapes running down from the cuticle. A thin brush helps create realistic, uneven drips. This design pairs well with longer nails since the drips have more room to trail down naturally. It fits bold, theatrical styles perfectly, especially for costume parties. If red feels too intense, swap it for black or dark green “poison” drips instead. Speaking of silhouettes, let’s look at another spooky shape next.
9. Witch Hat Silhouette Nails

A tiny witch hat painted on your nail instantly signals “I love Halloween” without saying a word. Use black polish to paint a simple triangle hat with a small buckle detail in gold or silver. Place it on a solid purple or deep teal background for contrast. This design works on almost any nail shape and length, making it a versatile, beginner-friendly choice. It’s great for casual Halloween outfits and kid-friendly witchy themes too. Once you’ve got the hat down, try adding tiny stars around it for extra whimsy before moving to something more mysterious.
10. Evil Eye Nails

Evil eye nails borrow from ancient protection symbolism and look striking in blue, white, and black tones. Paint a simple almond-shaped eye with concentric circles in blue and white, finishing with a black pupil in the center. This design works beautifully as a single accent nail against a solid navy or black base. It suits medium to long nails where the eye shape reads clearly. This look fits both witchy and bohemian aesthetics, appealing to anyone drawn to protective symbols. Next, let’s move into something a little more textured and earthy.
11. Marbled Emerald Green Nails

Marbled nails give off serious potion-and-forest-witch energy. Combine deep emerald green with black and a touch of gold using a marbling technique, either with a water marble method or marbling tools. This works especially well on medium-length nails where the swirling pattern has room to breathe. It suits nature-loving witches and anyone who prefers organic, flowing patterns over sharp graphics. A matte top coat gives it a mossy, mystical finish. If green isn’t your color, try the same technique in burgundy and black for a different mood entirely.
12. Golden Constellation Nails

Constellation nails turn your hands into a mini night sky. Paint your nails a deep navy or black, then use gold polish or a fine detail brush to connect small dots into star patterns like the Big Dipper or Orion. This design suits shorter nails nicely since the constellations stay neat and don’t compete for space. It’s a great choice for subtle witchy styles that still want to feel elegant and refined. Add tiny rhinestones at a few star points for extra sparkle. From stars, let’s head underground to something a bit more serpentine.
13. Bat Silhouette Nails

Bats are a witchy classic, and painting them is easier than you’d think. Use black polish to create simple bat silhouettes flying across a deep purple or gray background. A small dotting tool helps you add uniform bat shapes across multiple nails for a cohesive flock effect. This design fits almost any nail length and works great for casual Halloween styling. It’s playful, spooky, and doesn’t require advanced painting skills. Once your bats are flying, you might want to try a design with a bit more shimmer and shine.
14. Dark Floral Gothic Nails

Gothic florals combine delicate flower shapes with moody, dark colors for a design that’s romantic and eerie at once. Paint deep red or black roses with thin green stems on a nude or dark burgundy base. This works especially well on longer, almond-shaped nails where the floral detail can spread out. It suits romantic gothic styles and anyone who loves a “beautiful but a little haunted” aesthetic. Keep your color palette limited to two or three shades so the design stays cohesive rather than busy. Next, let’s stir up something bubbling in a cauldron.
15. Smoky Cauldron Nails

Cauldron nails are perfect for anyone who wants a literal nod to spellcasting. Paint a small black cauldron shape on one nail with green “bubbling” liquid spilling over the top, using soft swirls of white or light green polish to mimic smoke. Pair it with solid black or purple on the remaining nails. This design suits square and coffin shapes best since the cauldron needs a wider canvas. It’s ideal for Halloween costume parties and playful witchy themes. Once you’ve got your potion bubbling, let’s slither into something scalier.
16. Snake Skin Nails

Snake skin nails bring a sultry, mysterious texture to your witchy look. Use a small brush to paint overlapping scale patterns in deep green, black, or bronze tones. This design looks incredible on longer stiletto or coffin nails where the scale pattern can flow along the nail’s length. It suits edgier, fashion-forward witchy styles. A metallic top coat adds a realistic sheen that mimics real snakeskin. If scales feel too detailed, snake print nail decals are a great shortcut. Now let’s flip through something a little more fortune-telling.
17. Tarot Card Inspired Nails

Tarot card nails turn your fingertips into tiny mystical artwork. Choose a simple card design, like the Moon or the Star, and recreate a simplified version using gold, black, and white polish on one or two accent nails. This design works best on square or long nails since tarot imagery needs a bit more space to read clearly. It’s a favorite among witchy style lovers who want their manicure to feel personal and symbolic. Nail decals are a lifesaver here if freehand tarot art feels intimidating. Next, let’s try a subtler take on spider season.
18. Cobweb French Tips

This design puts a witchy spin on the classic French manicure. Instead of a plain white tip, paint a thin cobweb pattern in white or silver over the tip area, using black as your base color. This works on any nail length and shape, making it one of the easiest witchy designs to wear daily. It’s a great in-between option for people who want spooky vibes without going full costume. Add a tiny spider charm at the corner of the tip for extra detail. Now, let’s glow things up a little.
19. Glow-in-the-Dark Rune Nails

Rune nails combine ancient symbolism with a fun modern twist using glow-in-the-dark topcoat. Paint small rune symbols in white or silver on a black base, then seal with a glow-in-the-dark top coat so your nails light up under blacklight or in the dark. This design suits shorter nails since the runes stay simple and clean. It’s perfect for Halloween parties with blacklight setups or just for fun at home. Practice your runes on paper first to keep the shapes consistent across all ten nails. Next, let’s go deep and vampy.
20. Burgundy Vampy Nails

Sometimes witchy just means dark, glossy, and a little dangerous. A deep burgundy or oxblood polish on its own, especially in a glossy finish, gives off vampire-witch energy without any extra artwork needed. This design works on every nail shape and length, making it the most versatile pick on this list. It suits traditional and modern styles alike, from office-appropriate to full gothic glam. Add a single black accent nail with a tiny silver moon for extra flair. From vampy to broomstick, let’s keep the momentum going.
21. Broomstick Accent Nails

A tiny broomstick painted on an accent nail is a playful nod to classic witch imagery. Use brown polish for the handle and a fine brush with dark green or black bristles at the top. Pair it with solid black or deep purple on your remaining nails. This design works well on shorter nails since the broomstick shape is compact and simple to paint. It’s great for casual, fun Halloween looks, especially for kids or beginners practicing nail art. Next, let’s get a little bony.
22. Skull and Bone Nails

Skull nails are a bold, unapologetic choice for anyone who wants maximum witchy drama. Paint a simple white skull shape on a black background, keeping the features minimal, just two eye sockets and a small nose triangle. This design suits medium to long nails where the skull has room to look clean rather than cramped. It’s a favorite for gothic and punk-inspired witchy styles. Add small crossbones beneath the skull for a classic pirate-witch crossover look. Now, let’s finish strong with two glamorous options.
23. Emerald and Gold Foil Nails

This design mixes color with texture for a rich, luxurious witchy look. Paint your nails a deep emerald green, then press small pieces of gold foil onto random sections while the top coat is still tacky. This works beautifully on any nail length and shape since foil placement is flexible. It suits elegant witchy styles perfect for parties or special events. The gold foil catches light in a way that feels almost enchanted. Last but not least, let’s end with something sparkly and mysterious.
24. Matte Black with Glitter Accent Nails

Sometimes simple is best. A matte black base on most nails, paired with one glittery black or holographic accent nail, creates a look that’s both moody and eye-catching. This design suits every nail shape and length, making it a safe yet stylish choice for witchy beginners. It works for daily wear or special occasions equally well. Seal the glitter nail with extra top coat layers to avoid a bumpy texture. And there you have it, 24 witchy nail ideas ready for your next manicure appointment.
Witchy Nails Idea Comparison Chart
| Design | Best Nail Shape | Difficulty Level | Key Colors | Best For |
|---|---|---|---|---|
| Black Cat | Almond, Coffin | Easy | Black, Yellow | Daily wear |
| Moon Phase | Medium/Long | Medium | Black, Silver | Minimalist witches |
| Spiderweb | Short/Medium | Easy | Purple, White | Office-friendly Halloween |
| Potion Bottle | Square, Coffin | Hard | Green, Purple | Fantasy lovers |
| Pentagram | Almond, Stiletto | Medium | Black, Gold | Gothic style |
| Ombre Purple | Any | Easy | Purple, Black | Beginners |
| Crystal Ball | Square, Squoval | Medium | White, Gray | Elegant parties |
| Blood Drip | Long | Medium | Red, Nude | Costume parties |
| Evil Eye | Medium/Long | Medium | Blue, White | Protective symbolism |
| Snake Skin | Coffin, Stiletto | Hard | Green, Bronze | Edgy fashion |
| Rune Glow | Short | Medium | White, Black | Blacklight parties |
| Skull and Bone | Medium/Long | Hard | White, Black | Punk gothic |
Tips for Success
Here are a few things I’ve learned the hard way while testing these designs myself.
- Always start with a clean, oil-free nail surface so polish adheres properly.
- Use thin coats and let each layer dry fully before adding detail work.
- Keep a small detail brush and dotting tool on hand for symbols like moons, stars, and eyes.
- Practice tricky designs like tarot cards or skulls on paper before committing to your nails.
- Seal every design with a strong top coat to prevent chipping, especially on textured looks like foil or glitter.
Common Mistakes and How to Avoid Them
Overloading the design
: Trying to fit too many symbols on one nail makes designs look cluttered. Stick to one focal point per nail.
Skipping the base coat
: This leads to staining, especially with dark polishes like black and burgundy. Always apply a clear base coat first.
Rushing the drying time
: Smudged lines usually happen because the previous layer wasn’t fully dry. Patience really does pay off here.
Using the wrong brush size
: A brush too thick makes fine details like spiderwebs or runes look sloppy. Invest in a proper detail brush.
Similar Variations You Can Try
- Swap black for deep navy for a softer “night sky witch” theme.
- Try press-on nails with witchy designs if freehand painting feels intimidating.
- Use matte and glossy polish combinations on the same nail for added texture.
- Add small charms like tiny moons or spiders instead of painting every detail by hand.
I hope this list gave you plenty of inspiration to try something new. Witchy Nails Ideas are all about mixing mystery with creativity, and whether you go bold with blood drips or subtle with a single moon phase accent, there’s a design here for every style and skill level.