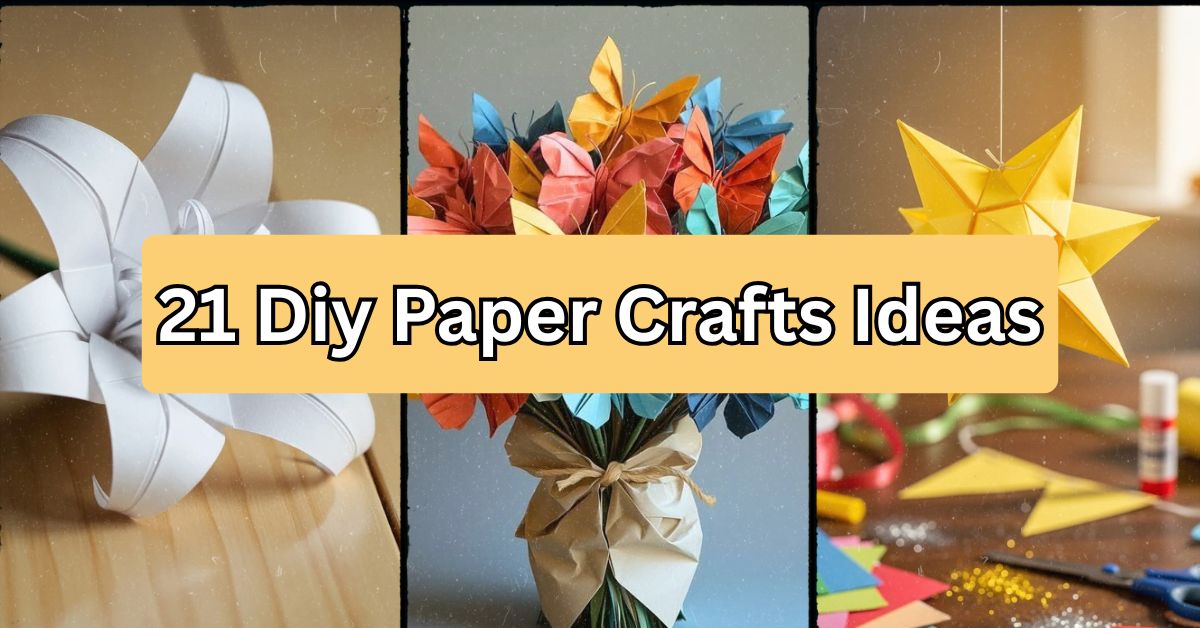
21 DIY Paper Crafts Ideas That Turn Scrap Paper Into Stunning Decor
Years of experimenting with different paper craft projects at home in my living room, on the kitchen table, and even in the playroom of my child proved very helpful since I now know exactly which techniques work and which are doomed to fail within just one day. I have burned my fingers while using hot glue, tried out dozens of rolls of cardstock, and found the tricks that save you time while creating amazing pieces.
So, what are the best DIY paper craft ideas? Best DIY paper crafts ideas include projects that involve cardstock, scissors, and glue to create flowers, garlands, lanterns, gift boxes, and other items. These ideas can be done by any person, regardless of skills level and budget.
Just keep on reading, as I will share my 21 ideas with materials list, styles, and tips I gained through my mistakes.
Why Paper Crafts Deserve A Spot In Your Home Decor Plans
Here’s the cool thing about paper craft projects: They are cheap, forgiving, and amazingly versatile. There is no need for a workshop or fancy equipment. All you need are sheets of paper of various colors, scissors, and glue to create things that will either be hung on the wall as decor, used to decorate an event, or make great gifts that will seem like they cost much more than they really did. Here are some examples of my projects.
1. Origami Paper Flowers

Origami flowers are the right craft project for a reason. They involve folding paper into flowers without using even a drop of glue although a little will hold the petals in place for long. Soft pastel colors such as blush pink or lavender work perfectly for creating romantic flowers while reds and oranges give a bold look.
Advice: Try folding paper using normal printer paper before fancy paper since the initial folds will be shaky anyway. These flowers blend in both bohemian and minimalist households equally. Finally, let’s try something difficult to fold next.
2. Quilled Paper Art

Paper quilling means rolling thin paper strips into coils, then shaping them into flowers, swirls, or geometric patterns glued onto a background. It looks intricate, but it’s really just patience and a quilling tool (a slotted stick works fine too). Choose a neutral background like cream or kraft paper so the colorful coils pop.
Practical tip: Buy pre-cut quilling strips online instead of cutting your own; it saves hours. Quilled art frames beautifully and suits traditional or eclectic decor styles. Once you’ve mastered coils, folding stars is a nice change of pace.
3. Folded Paper Stars

These 3D paper stars are made from woven strips that lock together into a puffy, dimensional shape. They’re popular in Scandinavian and Danish holiday decor, often called “julestjerner.” Use glossy paper for a festive shine or matte kraft paper for a rustic look.
Tip: Fold multiple stars in varying sizes and hang them together near a window so light passes through. They work wonderfully in modern farmhouse spaces during the holidays. Speaking of hanging decor, let’s talk garlands.
4. Paper Garlands

Garlands are basically the easiest DIY paper craft on this list, and yet they transform a room instantly. Cut shapes like circles, triangles, or hearts from cardstock, punch holes, and string them along twine or yarn. Mix two or three complementary colors, like mustard yellow, terracotta, and cream, for a warm autumn feel.
Practical tip: Use a paper punch for consistent shapes instead of freehand scissors. Garlands fit almost any decor style, from boho to industrial. Once you’ve got the garland down, try folding something with a bit more structure.
5. Accordion Paper Fans

Accordion fans use simple pleated folds to create decorative fans you can hang on walls or use as party backdrops. Bright, saturated colors work best here since the fan shape already creates visual movement. Cut the bottom edge into a curve or point for extra flair.
Tip: Secure the pleats with a stapler at the base before spreading them into a fan shape; it’s faster than gluing. These fans suit tropical and eclectic party decor especially well. Now let’s build something with actual glow.
6. Paper Lanterns

Paper lanterns bring soft, ambient light into any room, and making your own means you control the size, shape, and color completely. Tissue paper or vellum works best because it lets light diffuse evenly. Round or cylindrical shapes are classic, but accordion-fold lanterns add texture.
Practical tip: Use LED tea lights instead of candles to avoid fire risk, especially with delicate paper. These lanterns fit beautifully into bohemian bedrooms or outdoor patio setups. Next, let’s move from light to wings.
7. 3D Paper Butterflies
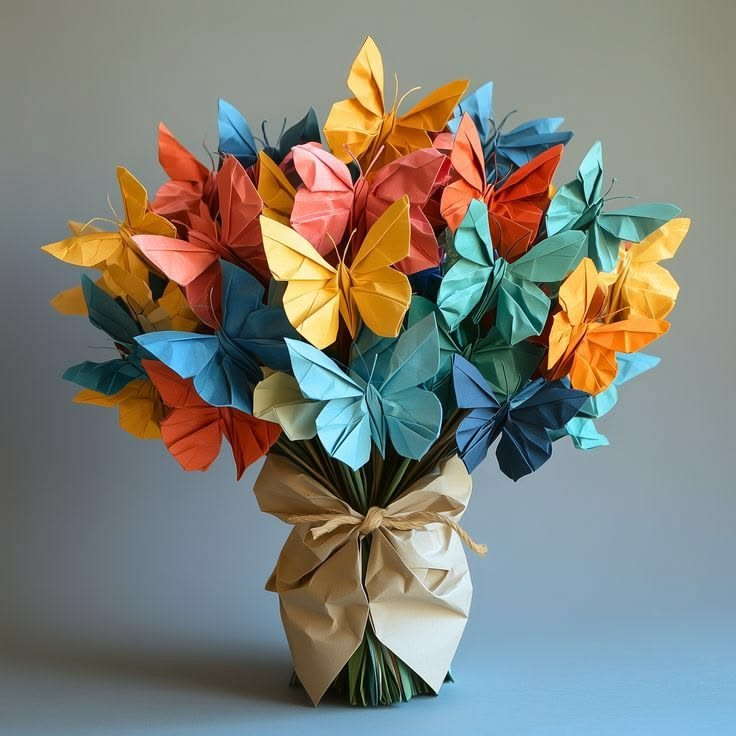
Layered paper butterflies add whimsical texture to blank walls, nurseries, or gallery arrangements. Cut multiple wing shapes in graduated sizes, then stack and glue them with foam dots for a lifted, 3D effect. Soft pastels or metallic paper both work depending on the mood you’re after.
Tip: Bend the wings slightly upward before gluing so they catch light and cast small shadows. This craft suits nursery decor and shabby chic interiors particularly well. Let’s get a little messier with our next project.
8. Paper Mache Bowls

Paper mache bowls repurpose old newspaper or magazine pages into sturdy decorative vessels. Layer strips over a balloon or bowl mold using a flour-water paste, let it dry completely, then paint or decoupage the surface. Earthy tones or metallic paints give these bowls a designer look for pennies.
Practical tip: Apply at least four layers of paper for durability, and dry each layer fully before adding more. These bowls fit rustic and eclectic kitchens beautifully. From bowls, let’s shrink things down into boxes.
9. Origami Gift Boxes
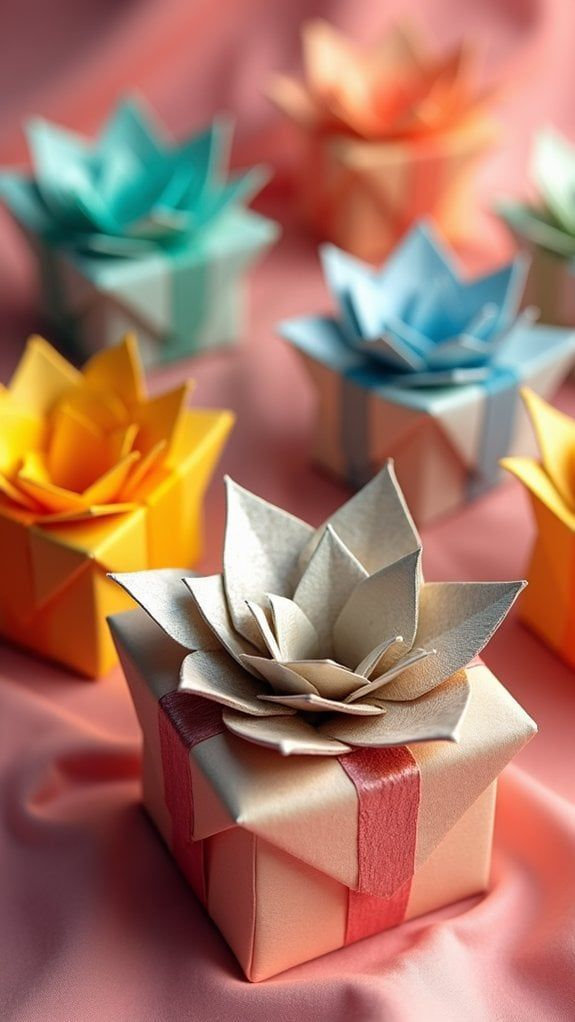
Handmade origami boxes are perfect for small gifts, and they fold flat when not in use, which makes storage easy. Choose sturdy cardstock in coordinating colors for the base and lid so they nest together snugly. Patterned paper adds a nice surprise when the box opens.
Tip: Score your fold lines lightly with a bone folder before creasing for cleaner edges. These boxes suit minimalist and Japandi-style homes. Now let’s cut into some winter magic.
10. Cut Paper Snowflakes

Snowflakes are a classic DIY paper craft, made by folding paper into eighths and cutting small notches along the edges. White paper is traditional, but silver, blue, or iridescent paper adds a modern twist. Vary the sizes for a layered window display.
Practical tip: Use small, sharp scissors for detail work, since dull blades tear delicate paper. Snowflakes fit seasonal and Scandinavian-style decor perfectly. From flat cuts, let’s build something dimensional again.
11. Paper Flower Wreaths

A paper flower wreath combines several folded or rolled flowers glued onto a circular base made of cardboard or a foam ring. Mix flower sizes and colors for a fuller, natural look, and add paper leaves to fill gaps. Soft greens and blush tones create a spring feel, while deep reds and golds suit fall.
Tip: Hot glue works faster than craft glue for attaching flowers to the base. These wreaths suit farmhouse and cottagecore front doors beautifully. Next, let’s try a more architectural paper technique.
12. Kirigami Wall Art
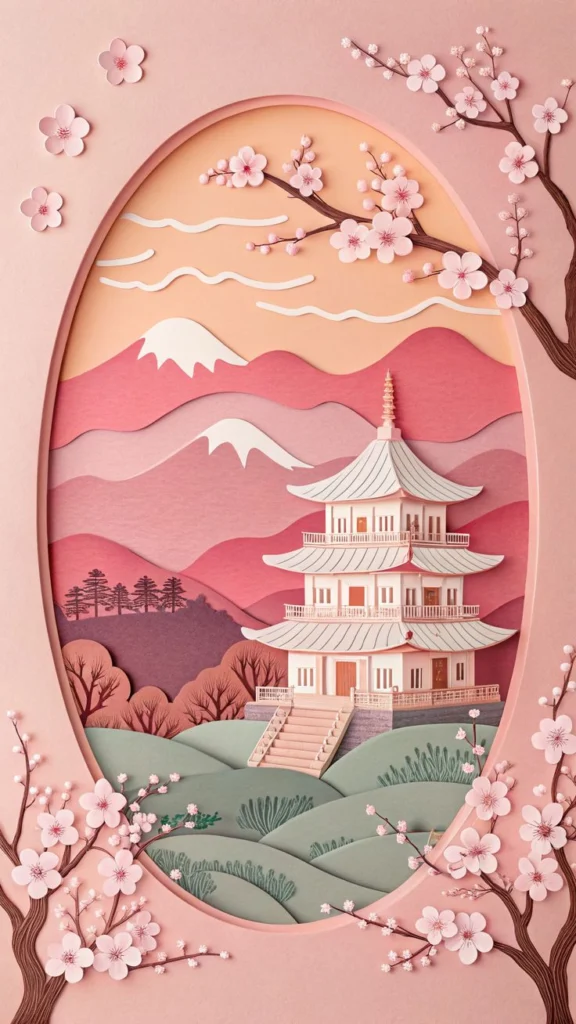
Kirigami combines folding and cutting to create intricate paper designs that pop off the page when opened, like a greeting card on a grand scale. Frame these designs against a contrasting background so shadows highlight the cut details. Black paper on white backing creates striking silhouette art.
Practical tip: Use a craft knife with a sharp blade and cut on a self-healing mat for clean lines. Kirigami art suits modern and minimalist walls exceptionally well. Now, let’s turn strips of paper into jewelry.
13. Rolled Paper Beads
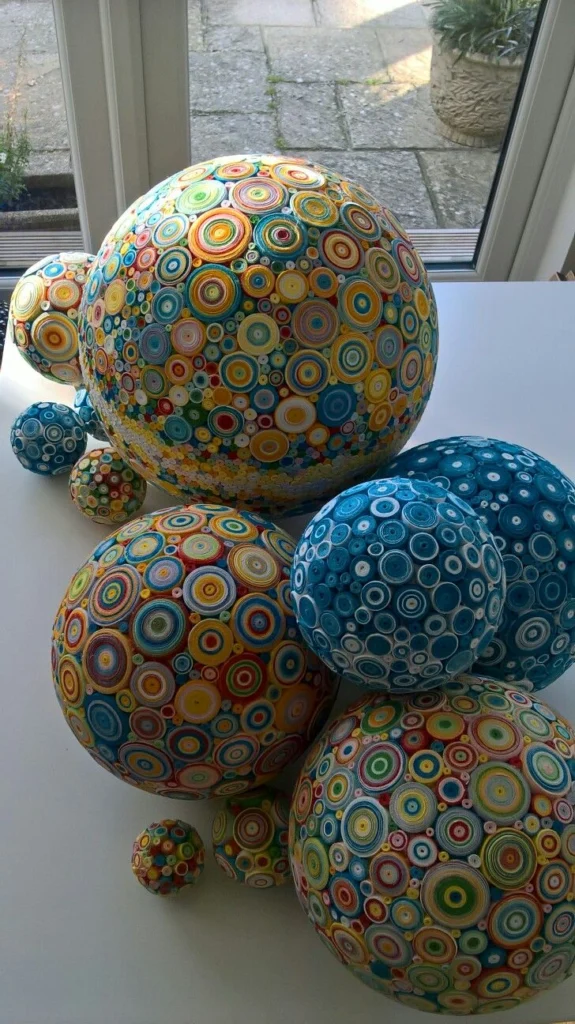
Paper beads are made by rolling long triangular strips of paper tightly around a skewer, then sealing them with glue or varnish. Magazine pages, wrapping paper, or painted cardstock all work great for color variety. String the finished beads into necklaces, bracelets, or even curtain accents.
Tip: Apply a clear varnish coat after rolling to make beads more durable and slightly glossy. This craft suits bohemian and global-inspired decor styles. From beads, let’s try a fancier rolled technique.
14. Paper Filigree Art
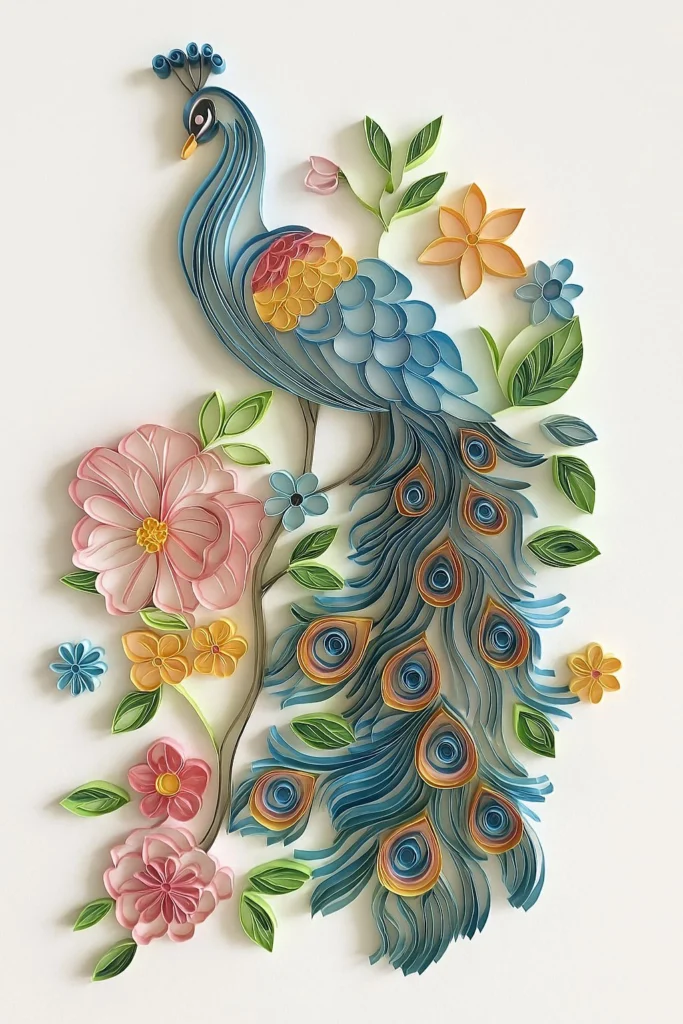
Paper filigree, sometimes called paper quilling’s fancier cousin, uses coiled and shaped strips to mimic lace or metal filigree patterns. It’s often used for elegant wall art or wedding invitations. White or gold paper on a dark background creates a striking, almost jewelry-like effect.
Practical tip: Use a fine-tip glue applicator to avoid clumps ruining delicate coils. This craft fits traditional and glam interiors. Let’s switch gears to something kids love making.
15. Paper Pinwheels
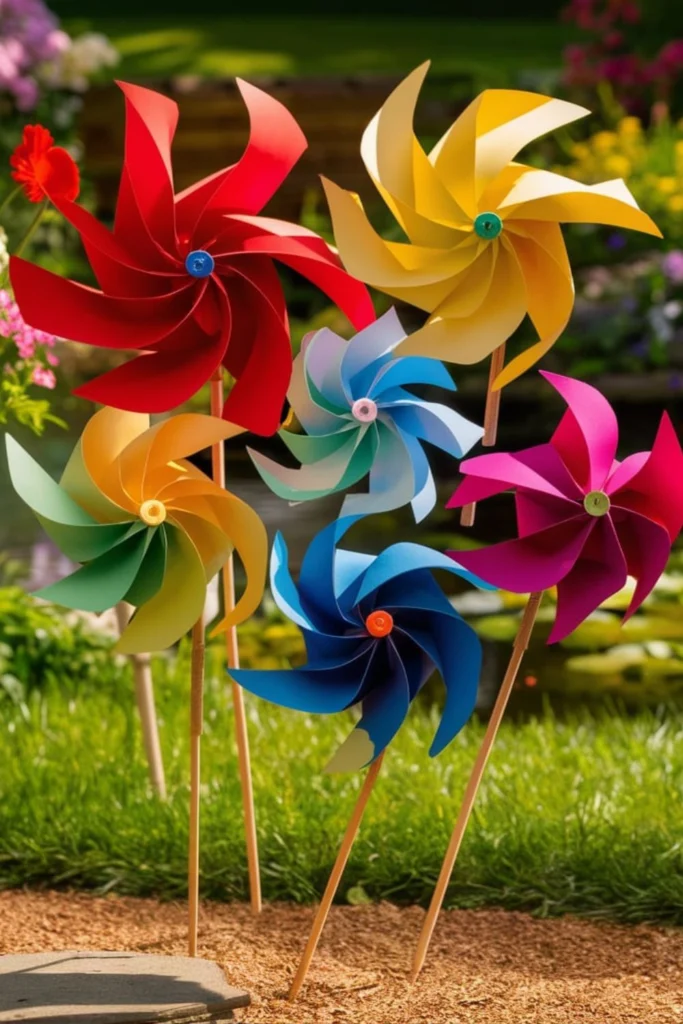
Pinwheels are quick, colorful, and genuinely fun to make with kids. Fold a square sheet diagonally, cut partial slits, then fold alternating points to the center and pin them onto a stick. Bright primary colors or patterned scrapbook paper both work well.
Tip: Use a brass paper fastener instead of a straight pin so the pinwheel spins freely without wobbling. Pinwheels suit playful, eclectic kids’ rooms and outdoor garden decor. Next, let’s fold a symbol of peace.
16. Origami Cranes Mobile
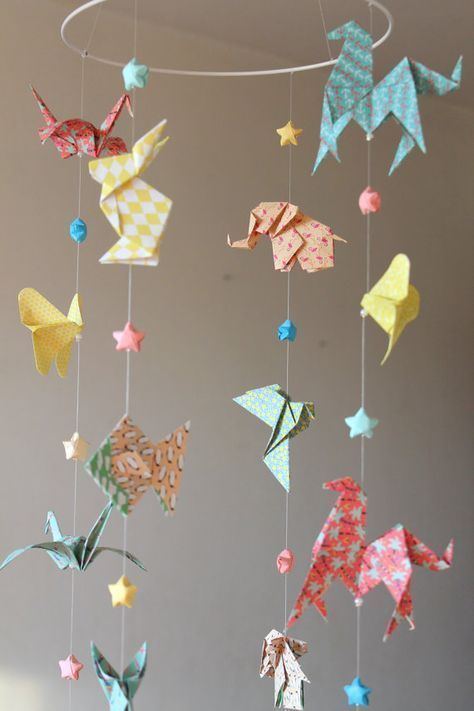
Origami cranes are a beloved folding project, and stringing several together into a hanging mobile creates gorgeous movement near windows or above a bed. Use a mix of solid colors and patterned paper for visual interest. Vary the string lengths so cranes hang at different heights.
Practical tip: Hang the mobile using fishing line instead of string so it appears to float. This project suits Japandi and minimalist bedrooms beautifully. Now, let’s try something delicate and lacy.
17. Paper Doily Wall Decor
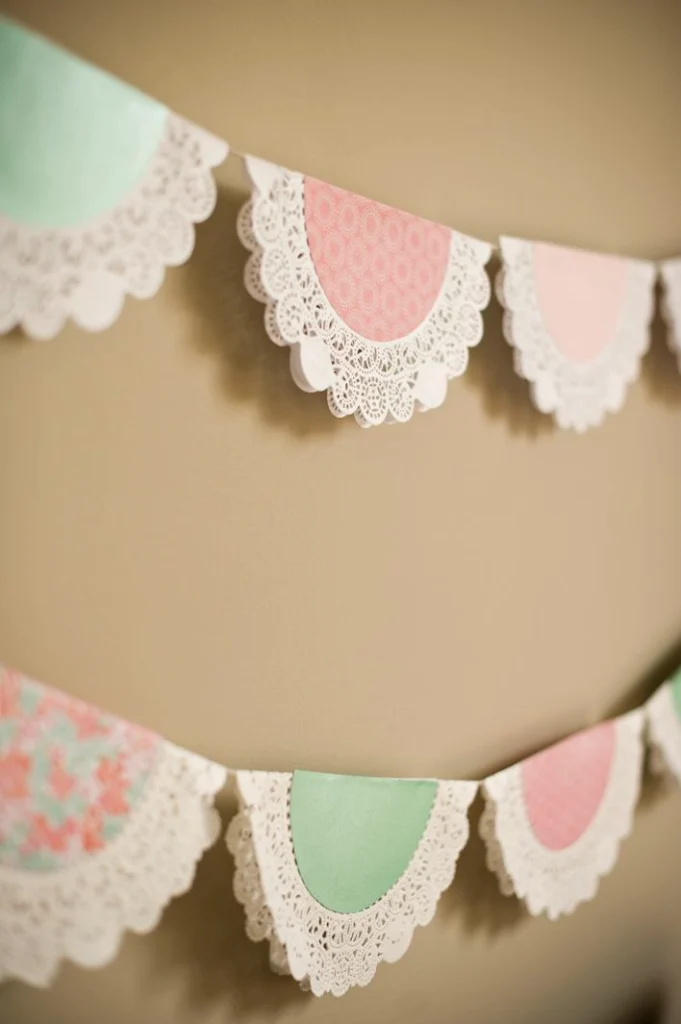
Paper doilies aren’t just for cakes anymore. Layer several doilies of different sizes and colors, then arrange them into a circular or fan pattern on your wall for a lace-inspired accent. Pastels or metallics work especially well for a feminine, vintage touch.
Tip: Use removable adhesive dots so you can rearrange the pattern without damaging your wall paint. This decor style suits vintage and shabby chic rooms. From walls, let’s frame some memories.
18. Woven Paper Photo Frames
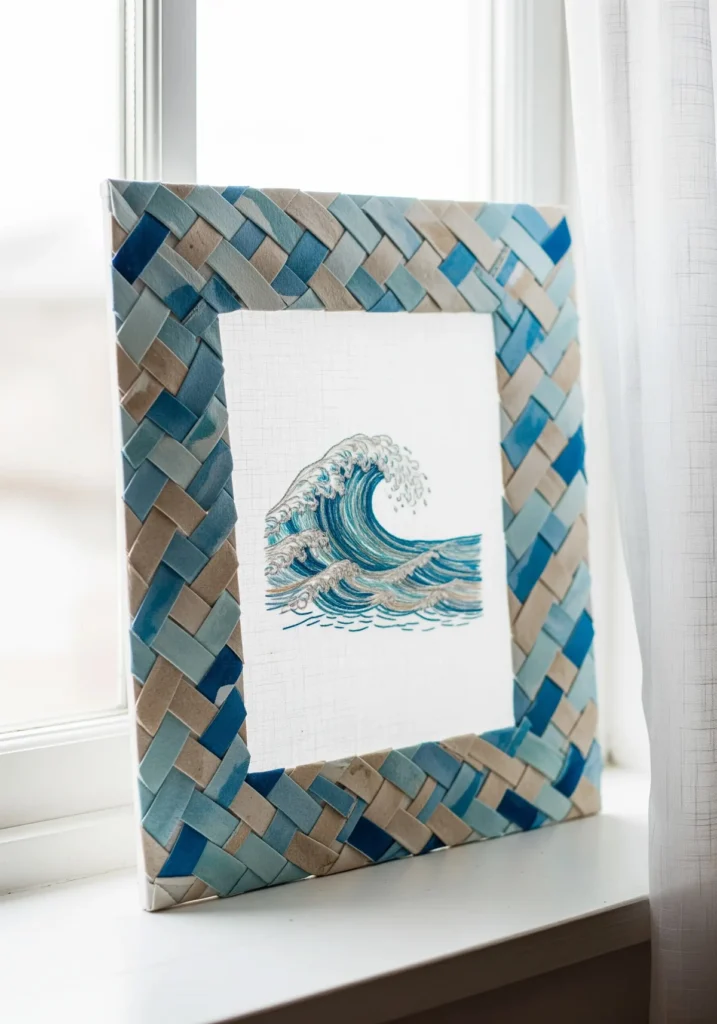
Woven paper frames use interlaced strips of colored paper to create a textured border around a photo or mirror. It’s a great way to use up leftover scrapbook paper scraps. Choose two or three coordinating colors so the weave pattern reads clearly.
Practical tip: Glue the woven mat onto a sturdy cardboard backing before adding the frame edges for stability. This craft suits eclectic and boho gallery walls. Next, let’s build something with real depth.
19. Layered Paper Shadow Boxes
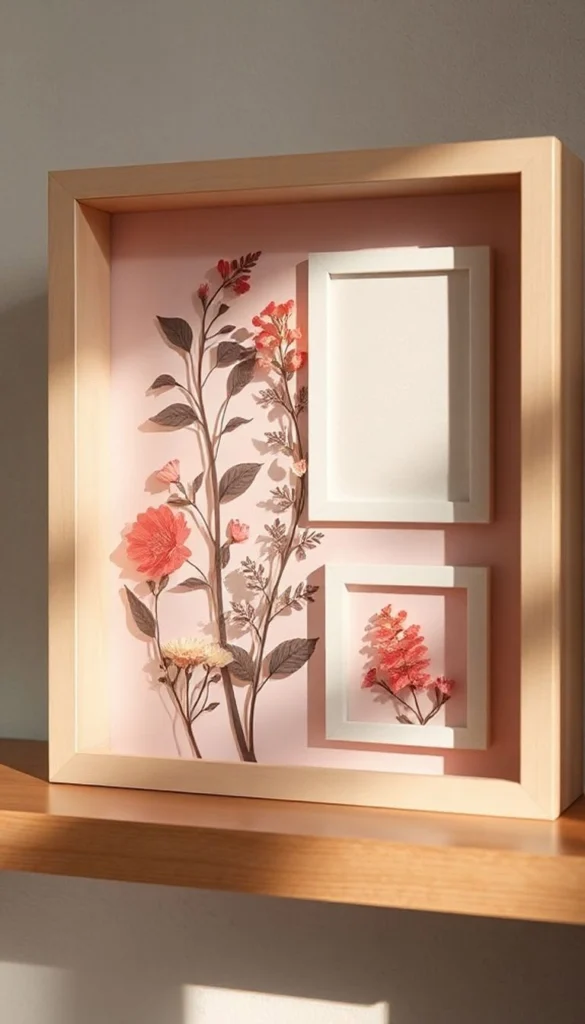
Shadow boxes use several layers of cut paper stacked with small spacers between each layer, creating a 3D scene when viewed straight on or lit from behind. Nature scenes, cityscapes, or abstract shapes all work beautifully. Use foam core spacers to create even gaps between layers.
Tip: Light the box from behind with an LED strip for a dramatic glowing effect at night. Shadow boxes suit modern and industrial spaces as statement wall pieces. Let’s move to something more functional now.
20. Paper Gift Bows

Handmade paper bows dress up gift wrapping without costing a dime extra since they’re made from paper you already have. Loop strips of paper into rounded petals, layering smaller loops on top of larger ones, then secure the center with a brad or glue dot. Metallic or patterned paper makes these bows look store-bought.
Practical tip: Curl the paper strips slightly around a pencil before looping for a softer, more natural shape. These bows suit any home style since they’re temporary decor. Finally, let’s make something that lasts.
21. Handmade Paper Journals
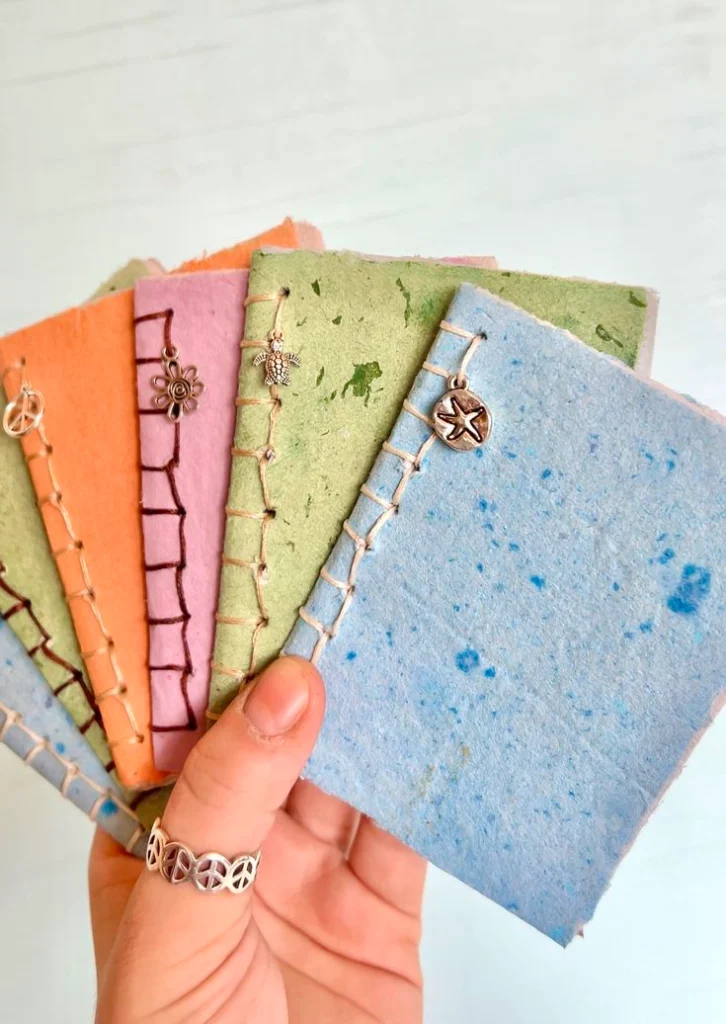
A handmade paper journal combines several DIY paper crafts skills — folding, cutting, and binding — into one lasting keepsake. Use recycled paper for the pages and sturdy cardstock or fabric-covered board for the cover. Bind pages together with a simple stitch or binder rings for an easy beginner method.
Tip: Decorate the cover with pressed flowers or paper cutouts sealed under clear tape for durability. Journals suit cottagecore and rustic home offices perfectly. And with that, we’ve covered all 21 projects.
Comparison Table: Skill Level, Time, and Materials Needed
| Project | Skill Level | Time Needed | Main Materials |
|---|---|---|---|
| Origami Paper Flowers | Beginner | 15–20 min | Square paper |
| Quilled Paper Art | Intermediate | 30–60 min | Paper strips, quilling tool |
| Folded Paper Stars | Beginner | 20 min | Paper strips |
| Paper Garlands | Beginner | 10–15 min | Cardstock, twine |
| Accordion Paper Fans | Beginner | 15 min | Cardstock, stapler |
| Paper Lanterns | Intermediate | 45 min | Tissue paper, LED lights |
| 3D Paper Butterflies | Beginner | 20 min | Cardstock, foam dots |
| Paper Mache Bowls | Intermediate | 2–3 days (drying) | Newspaper, flour paste |
| Origami Gift Boxes | Intermediate | 25 min | Cardstock, bone folder |
| Cut Paper Snowflakes | Beginner | 10 min | Paper, scissors |
| Paper Flower Wreaths | Intermediate | 1–2 hours | Cardboard, paper flowers |
| Kirigami Wall Art | Advanced | 1 hour | Paper, craft knife |
| Rolled Paper Beads | Beginner | 30 min | Magazine paper, varnish |
| Paper Filigree Art | Advanced | 1–2 hours | Paper strips, fine glue |
| Paper Pinwheels | Beginner | 10 min | Paper, paper fastener |
| Origami Cranes Mobile | Intermediate | 1 hour | Paper, fishing line |
| Paper Doily Wall Decor | Beginner | 20 min | Doilies, adhesive dots |
| Woven Paper Photo Frames | Intermediate | 30 min | Paper strips, cardboard |
| Layered Paper Shadow Boxes | Advanced | 2 hours | Paper, foam spacers |
| Paper Gift Bows | Beginner | 10 min | Paper, brads |
| Handmade Paper Journals | Advanced | 3+ hours | Recycled paper, binding |
Material Cost Breakdown
| Material | Average Cost | Where to Find It |
|---|---|---|
| Cardstock (pack of 50) | $8–12 | Craft stores, online |
| Tissue paper | $3–5 | Dollar stores |
| Quilling strips | $6–10 | Craft stores, Amazon |
| Craft glue | $2–4 | Any store |
| Twine or yarn | $3–6 | Craft stores |
| Craft knife and mat | $10–15 | Craft stores |
Tips For Success
Getting good results with DIY paper crafts comes down to a few habits I picked up through trial and error:
- Always score fold lines before creasing sharp cardstock; it prevents cracking.
- Keep a damp cloth nearby to wipe glue off your fingers before it dries on the paper.
- Buy paper slightly heavier than printer paper (around 65–80 lb cardstock) for anything that needs to hold shape.
- Work on a cutting mat to protect your table and keep edges clean.
- Let paper mache or glued projects dry fully before handling; rushing this step ruins more crafts than anything else.
Common Mistakes And How To Avoid Them
Mistake: Using paper that’s too thin for the project, causing it to sag or tear. Fix: Choose cardstock (65 lb or higher) for structural pieces like boxes and wreaths.
Mistake: Applying too much glue, which warps or wrinkles the paper. Fix: Use a thin, even layer, or switch to double-sided tape for flat projects.
Mistake: Cutting fold lines instead of scoring them first. Fix: Use a bone folder or the back of a butter knife to score before folding.
Mistake: Rushing dry time on paper mache or layered projects. Fix: Plan ahead and let each layer dry for at least a few hours, or overnight for thicker layers.
Similar Variations You Can Try
Once you’ve tried the basics, here are some fun spins to keep things fresh:
- Swap plain paper for washi tape patterns to add texture without extra cutting.
- Use metallic or holographic paper for a festive, upgraded look on garlands and stars.
- Try recycled materials like old maps, sheet music, or newspaper for a vintage aesthetic.
- Combine two techniques, like quilling plus origami, for one-of-a-kind hybrid pieces.
- Scale projects up (giant paper flowers) or down (miniature cranes) for different display purposes.
I hope this list gave you a real head start on your next project, whether you’re decorating for a party or just want a relaxing weekend hobby. DIY paper crafts are honestly one of the most affordable and rewarding ways to add handmade charm to your home, and now you’ve got 21 solid ideas to prove it.