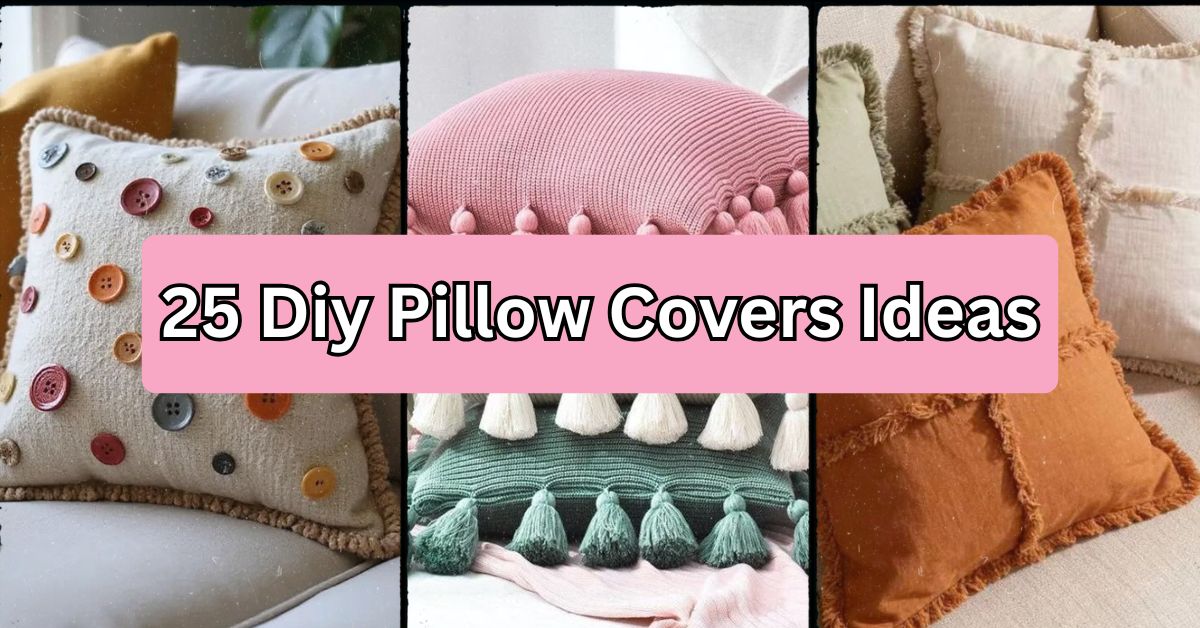
25 DIY Pillow Covers Ideas That’ll Transform Your Space Without Breaking the Bank
Over many years now, I have experimented with countless different fabrics, sewing methods, and tricks that don’t need any stitches at all to give you practical ideas of how to create beautiful pillow covers at home that are much more than simply Instagram-worthy! Each idea provided here has been carefully selected based on ease of execution, value for money, and the satisfaction you would derive from having accomplished them successfully!
Which are some of the best DIY pillow covers ideas, then? Well, some of my favorites in this regard would be envelope covers, no-sew ties, button-back covers, pom-pom decorated covers, and paint-decorated fabrics. Some of these are extremely easy, taking only 15 minutes to complete without any stitching whatsoever, while others can prove slightly harder but still manageable with a bit of experience on the sewing machine and costing anywhere between $5-$25 per pillow.
Stay tuned because this is going to get very interesting indeed!
Why DIY Pillow Covers Beat Store-Bought Every Time
Here’s the thing. Store pillow covers cost $20-50 each and look… generic. When you make your own, you control the fabric, the fit, and the personality. Plus, swapping seasonal covers becomes affordable instead of a luxury. I’ve saved hundreds of dollars just by learning five basic techniques I’ll walk you through below.
Let’s get into the good stuff.
1. Classic Envelope Pillow Cover

This marks the start point for beginners looking into making pillow covers. In this case, you will have an overlap of materials on the backside forming pockets in which you will place your insert pillows without having any need for zippers or buttons. Medium weight material is recommended in making such projects. If you use light weight material, your project may end up sagging. In choosing colors, opt for solid colors and small patterns due to the nature of this particular design.
In measuring, take your pillow inserts measurement and add one inch margin all around it. You can now make your two overlaps on the back side that have four inch overlap each. It goes well in farmhouse, coastal and minimalistic interior designs.
Now let’s move onto something a little different where you won’t be using the sewing machine anymore.
2. No-Sew Tie Pillow Cover

Very suitable for tenants or individuals who fear sewing machine needles. Simply lay down the piece of fabric and put the pillow stuffing inside before tying up each corner just like gift wrapping. The quilting cottons and canvas materials will retain the knot well; slippery silk materials cannot maintain any knots.
Pick striking designs because these knots will actually make up some patterns within the design itself. Perfect idea for eclectic home designs which celebrate unique details rather than shying away from them. Hint: Rather than tying up the entire fabric corners, opt for narrow strips of fabric for more sophisticated bows. Not so much for conventional houses.
Time to incorporate some metal pieces now.
3. Button-Back Pillow Cover

Buttons will add both textural interest and functionality at once. You will need to construct an envelope-style closure on the back side, after which point you punch holes for your buttons and sew them in their appropriate places opposite those holes. Buttons made of wood create a rustic feel, while mother-of-pearl creates elegance within traditional settings or coastal themes.
The recommended spacing between buttons is two to three inches. The design tends to work best in rooms such as the bedroom and any reading area that requires frequent handling of your cushions.
Now let’s get into some fun!
4. Pom-Pom Trim Pillow Cover

Adding pom pom trim on pillows brings instant whimsical element.
Apply using the zipper foot attachment in order to sew close to the seam allowance. Cotton pom pom will be appropriate for children’s bedrooms while velvet pom pom gives out luxury vibes in eclectic lounges.
Color selection should be coordinated with any secondary shade used in the room other than the dominating hue.
5. Fringe-Edge Pillow Cover

Similar to pom-poms but with a bohemian, textured edge. Attach fringe trim during your final seam, sandwiching it between right sides of fabric before flipping inside out. This works beautifully with velvet or suede-look fabrics for that lived-in, layered feel.
Fabric & Trim Compatibility Table
| Fabric Type | Best Trim Style | Difficulty | Care Instructions |
|---|---|---|---|
| Cotton canvas | Pom-poms, fringe | Beginner | Machine wash cold |
| Linen | Piping, buttons | Intermediate | Dry clean recommended |
| Velvet | Fringe, tassels | Intermediate | Spot clean only |
| Silk blend | Piping only | Advanced | Dry clean only |
| Outdoor fabric | Rope trim | Beginner | Hose off, air dry |
6. Piped Edge Pillow Cover

Piping gives pillows a tailored, upholstered look. Make your own piping by wrapping bias tape around cording, then sew it into your seams before attaching front and back panels. Contrasting piping colors work great in modern spaces; matching piping suits traditional formal rooms.
7. Ombre Dip-Dye Pillow Cover

Start with white or light cotton fabric, then dip one end into fabric dye, gradually lifting it out for a gradient effect. This adds artistic flair without pattern mixing headaches. Perfect for modern or Scandinavian interiors craving subtle color.
8. Tie-Dye Pillow Cover

More vibrant than ombre, tie-dye uses rubber bands and dye to create spirals or crumple patterns. Natural fiber fabrics absorb dye best—skip polyester blends entirely. This suits bohemian, teen bedrooms, or playful sunrooms.
9. Stenciled Pattern Pillow Cover
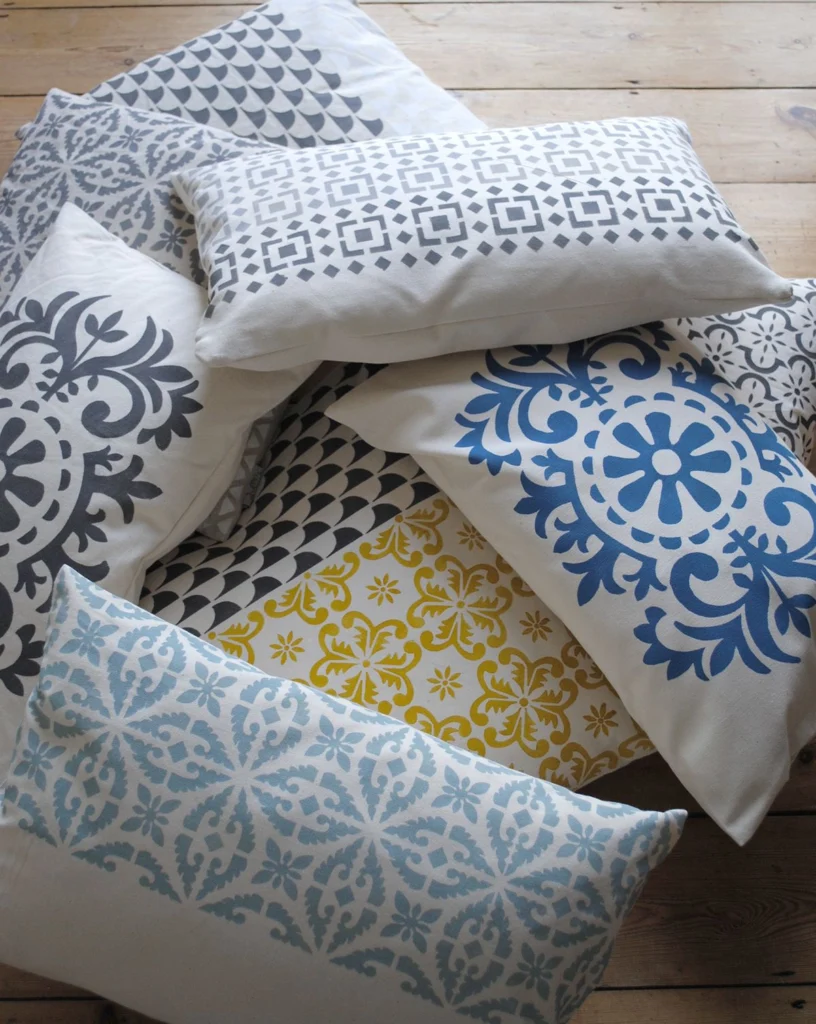
Fabric paint plus a stencil equals custom pattern without sewing skills. Use fabric medium mixed with acrylic paint for flexibility after washing. Geometric stencils suit modern spaces; floral stencils fit cottagecore aesthetics.
Let dry completely between coats to avoid smudging—patience matters here.
10. Hand-Painted Abstract Pillow Cover
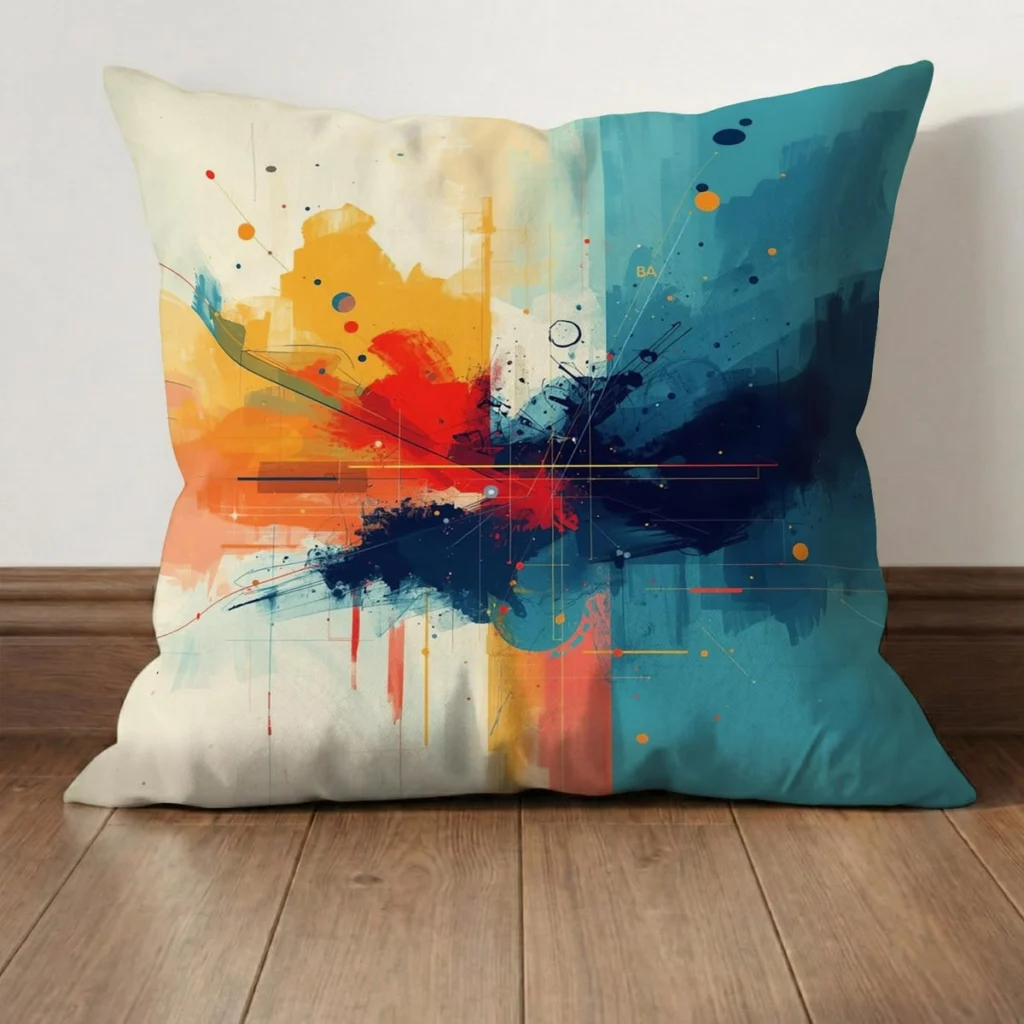
Skip stencils and freehand your design using fabric markers or paint. This works for artistic personalities wanting one-of-a-kind statement pieces. Eclectic and modern homes benefit most from this unpredictable technique.
11. Appliqué Pillow Cover
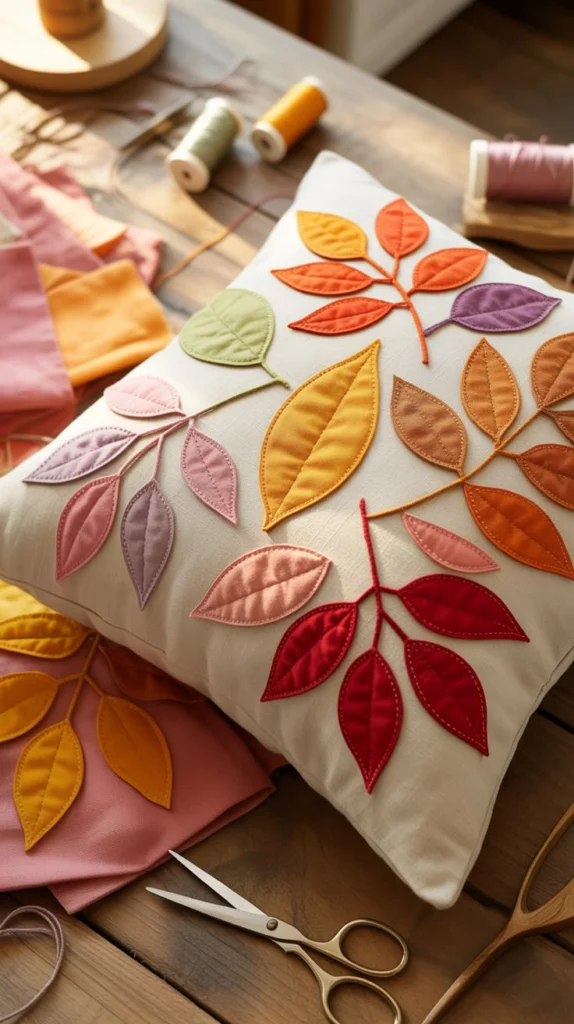
Cut shapes from contrasting fabric and sew or fuse them onto your base cover. Iron-on adhesive simplifies this for beginners. Botanical shapes suit traditional decor; geometric shapes fit modern spaces.
12. Patchwork Pillow Cover
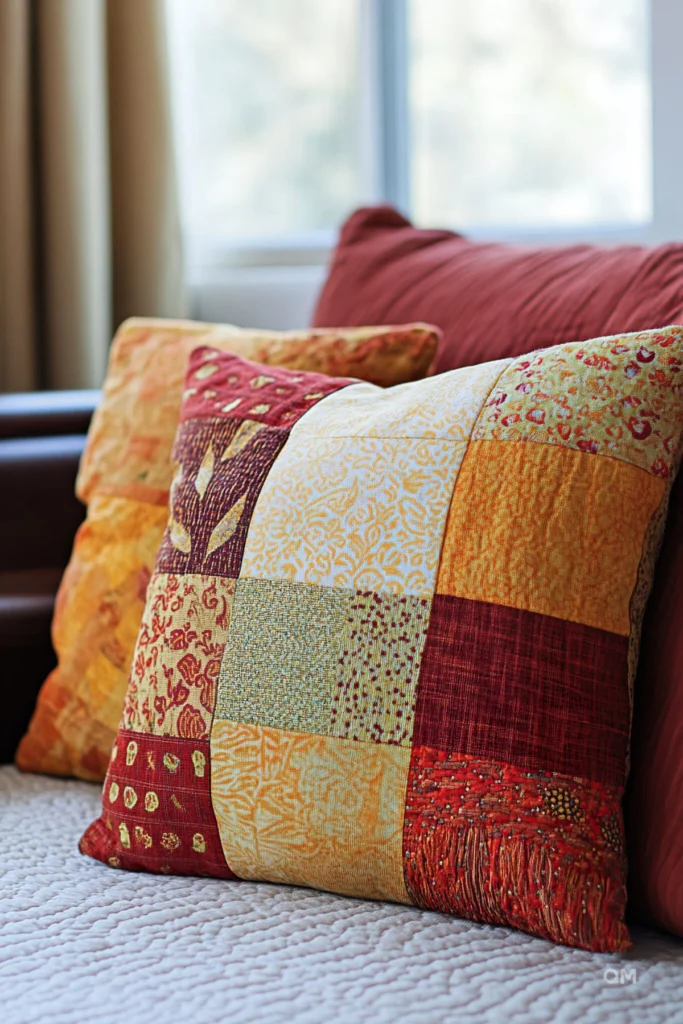
Combine fabric scraps into a quilted patchwork design. This is ideal for using leftover fabric from other projects. Farmhouse and cottage-style homes embrace this charmingly imperfect technique.
Time & Cost Estimate Table
| Project Type | Time Required | Estimated Cost | Skill Level |
|---|---|---|---|
| Envelope cover | 20-30 min | $8-15 | Beginner |
| No-sew tie | 10-15 min | $6-12 | Beginner |
| Button-back | 40-50 min | $10-18 | Intermediate |
| Tie-dye | 2-3 hours (with dry time) | $10-20 | Beginner |
| Patchwork | 1.5-2 hours | $5-15 (scraps) | Intermediate |
| Embroidered | 3-5 hours | $15-25 | Advanced |
13. Embroidered Detail Pillow Cover

Hand embroidery adds heirloom quality. Start with simple stitches like backstitch and French knots before attempting complex florals. This suits traditional and grandmillennial styles perfectly.
14. Pompom Fringe Mix Pillow Cover
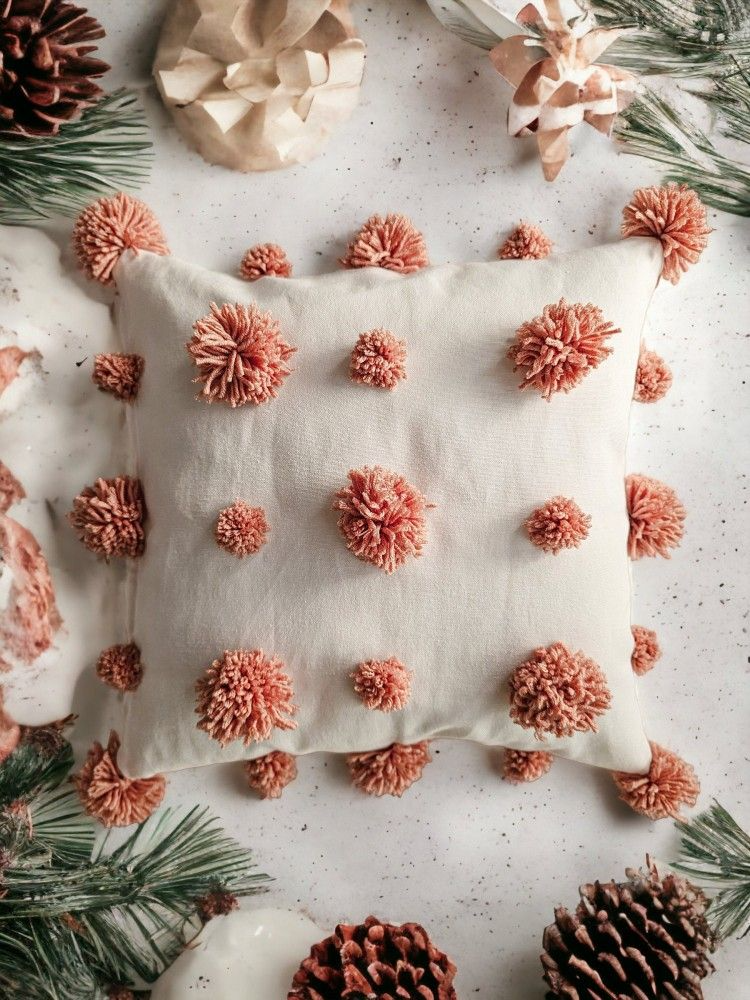
Combine both pom-poms and fringe on opposite edges for textural contrast. Works beautifully in maximalist or bohemian rooms craving layered detail.
15. Velvet Envelope Pillow Cover
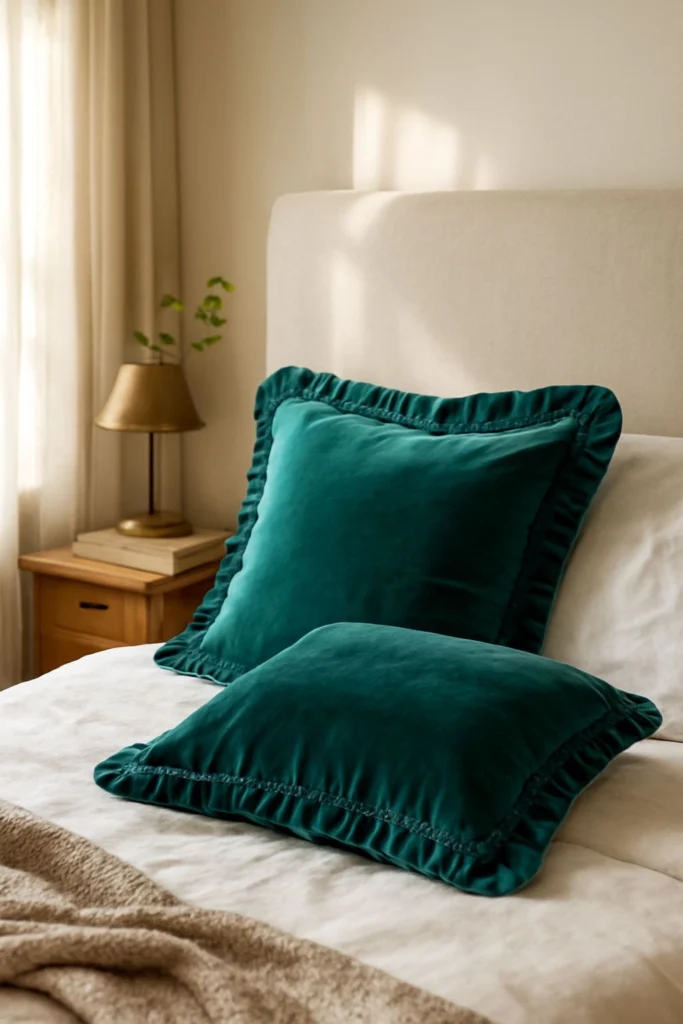
Swap cotton for velvet in the classic envelope design. Velvet adds instant luxury and works wonderfully in traditional, glam, or moody modern spaces. Use a walking foot when sewing—velvet shifts easily under regular presser feet.
16. Linen Zipper Pillow Cover

Once you’re comfortable sewing, add an invisible zipper for a polished finish. Linen’s natural texture hides zipper lines nicely. This technique suits nearly every design style since it’s clean and versatile.
17. Outdoor Fabric Pillow Cover
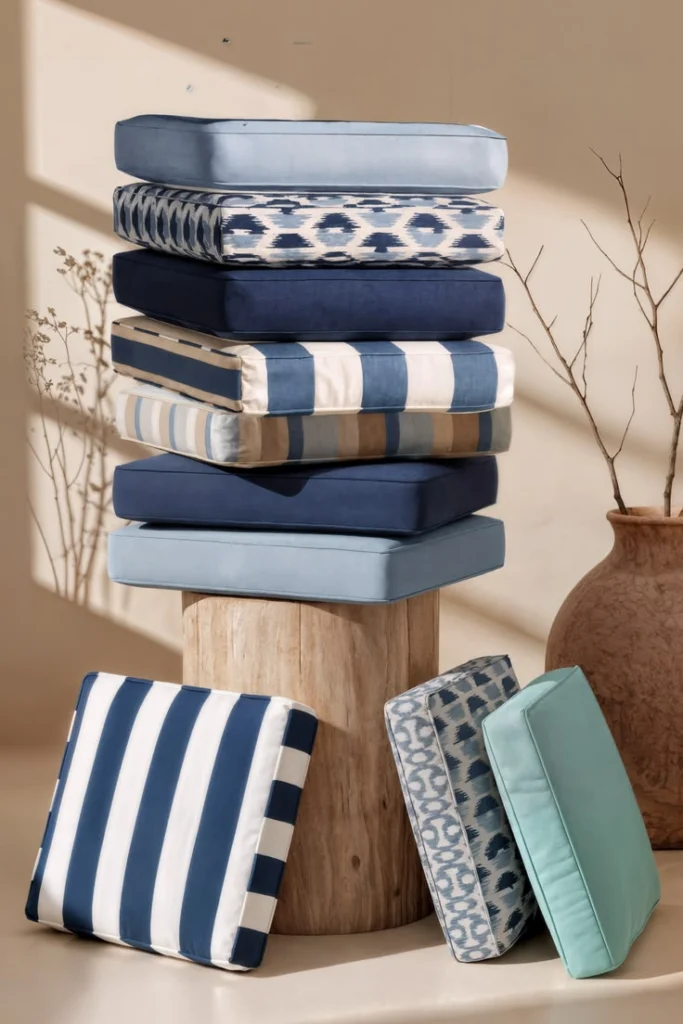
Use marine-grade or Sunbrella fabric for patio pillows that resist fading and moisture. Add grommets instead of standard hems for hanging options. Coastal and modern outdoor spaces benefit most.
18. Faux Fur Pillow Cover
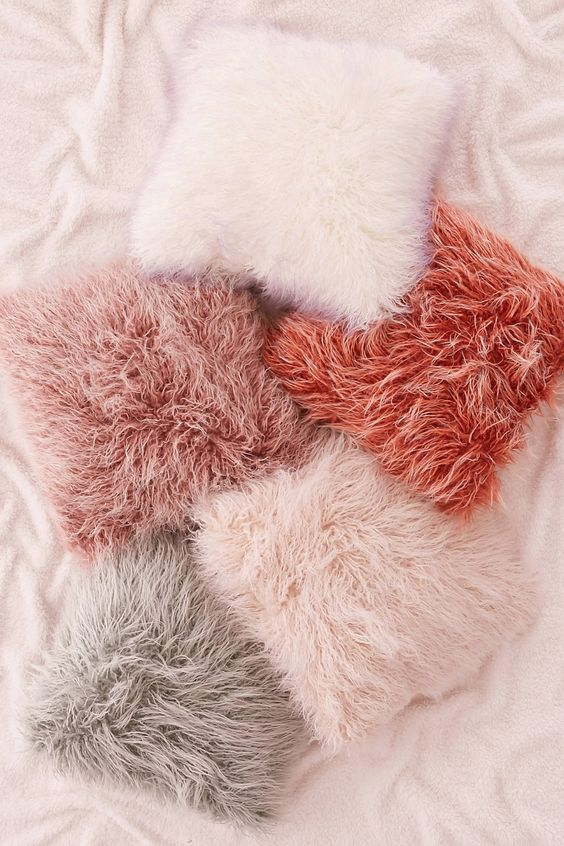
Faux fur adds cozy texture for winter decor. Cut carefully with fur facing inward to avoid trapped fibers in seams. Modern and glam interiors love this tactile addition.
19. Monogram Pillow Cover
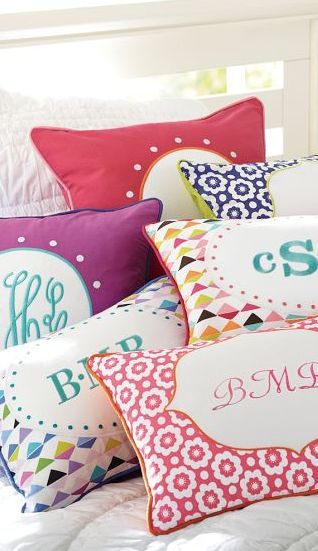
Add a single embroidered or appliquéd letter for personalized charm. This works in nearly any style, especially gifts or nursery decor.
20. Color-Block Pillow Cover
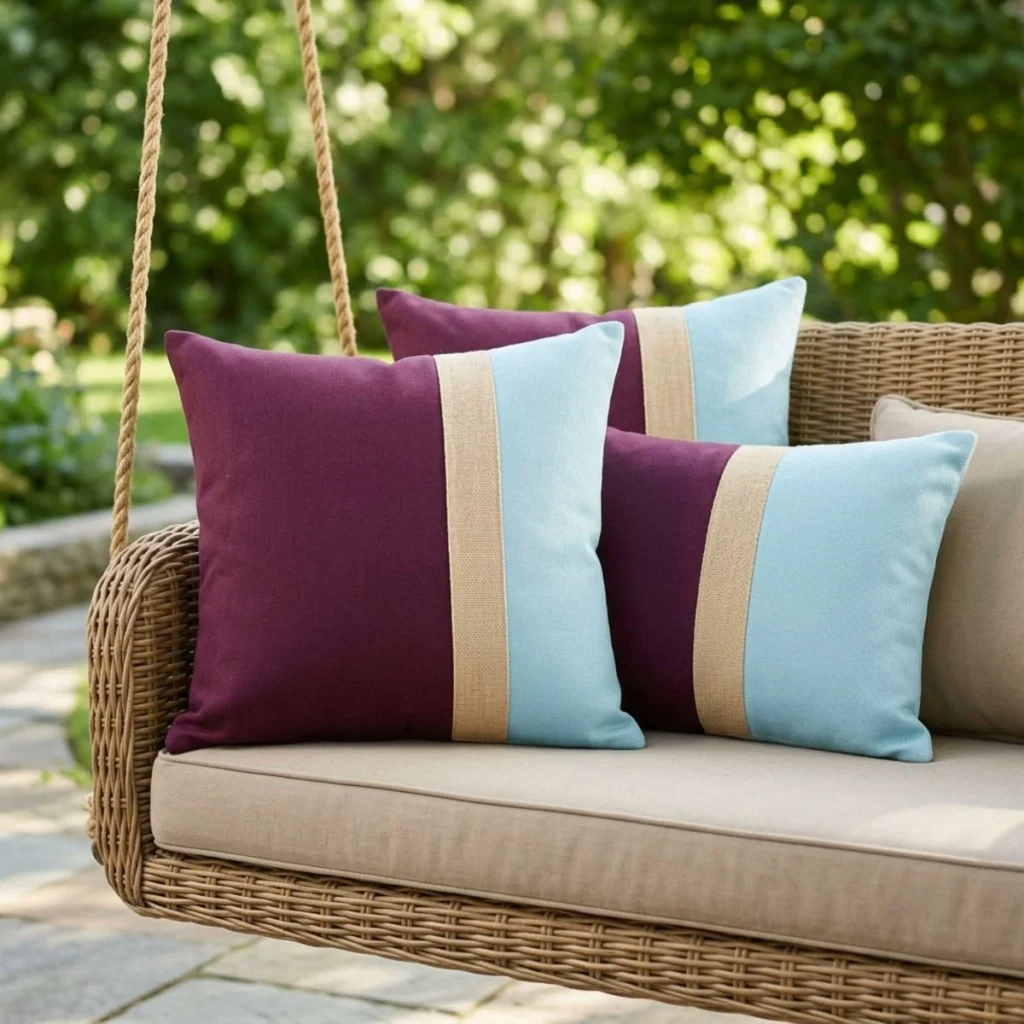
Sew two or three solid fabric panels together for a bold geometric look. Choose complementary colors from the color wheel for balance. Modern and Scandinavian spaces shine with this technique.
21. Ruffled Edge Pillow Cover
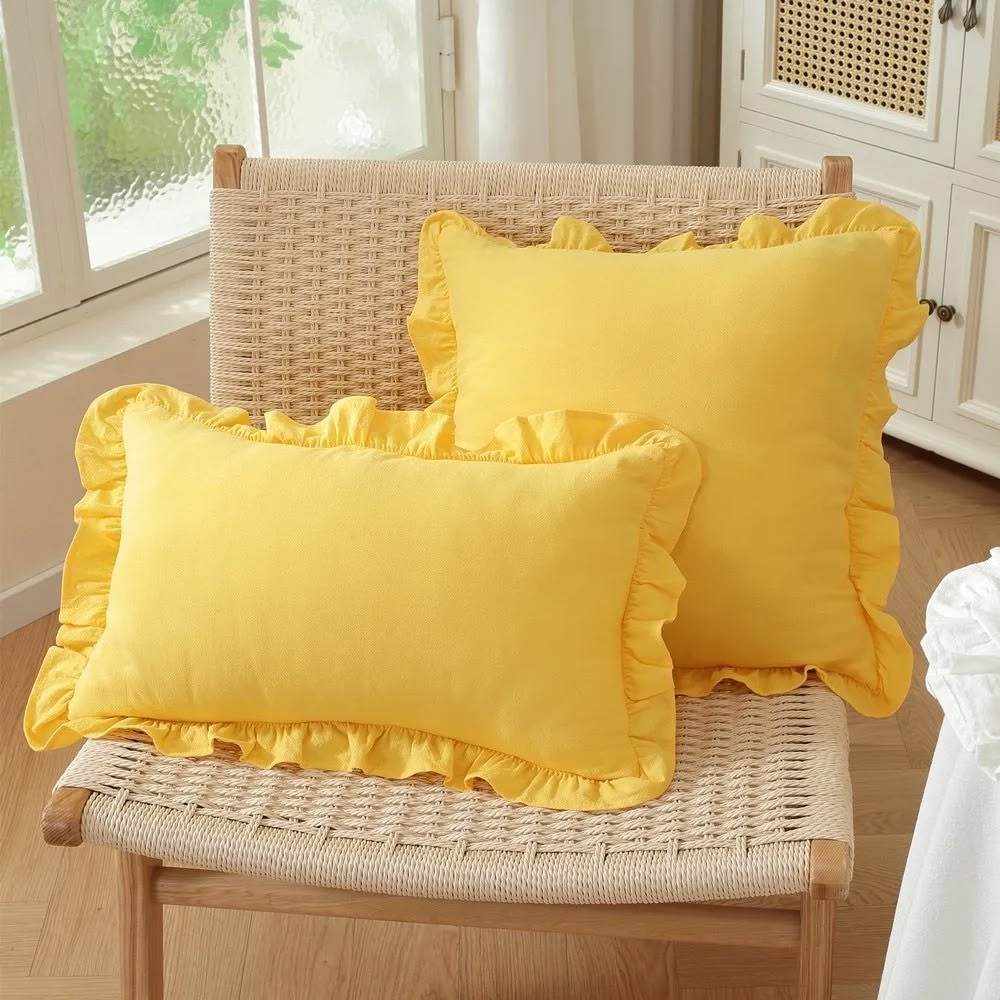
Gather fabric strips and sew them around the perimeter for romantic, feminine flair. Cottage and traditional bedrooms suit this softness well.
22. Knit Pillow Cover
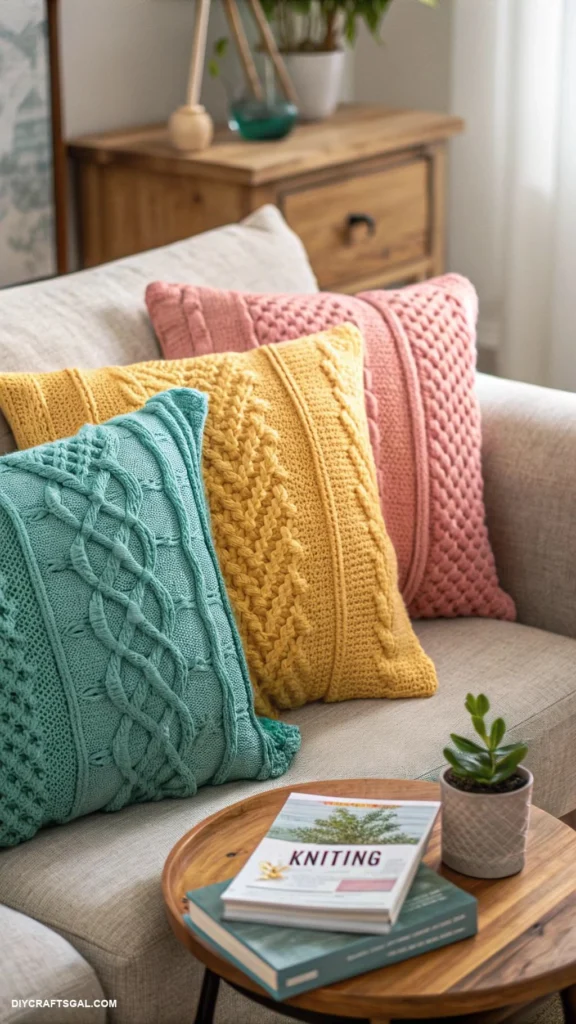
Repurpose an old sweater into a cozy knit cover. Cut carefully to avoid unraveling, then sew a simple envelope back. Perfect for rustic or Scandinavian winter decor.
23. Leather Accent Pillow Cover
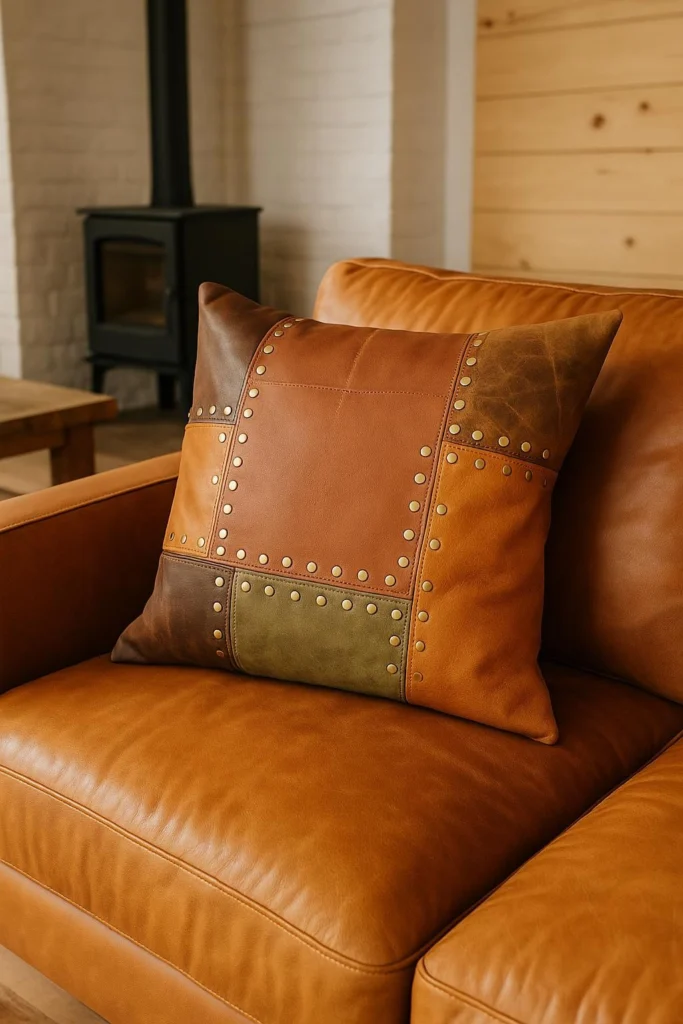
Combine leather patches with fabric for masculine, modern appeal. Use a leather needle on your machine to prevent skipped stitches. Industrial and modern farmhouse spaces love this contrast.
24. Macramé Pillow Cover
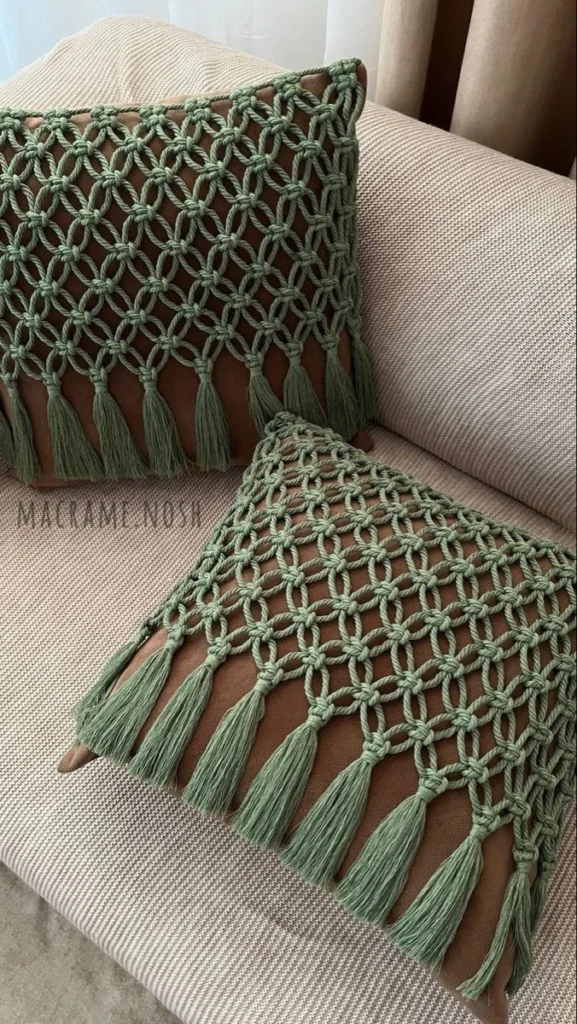
Weave macramé cord across the front panel for textured bohemian style. This requires patience but no sewing machine at all. Bohemian and coastal spaces benefit most.
25. Photo Transfer Pillow Cover
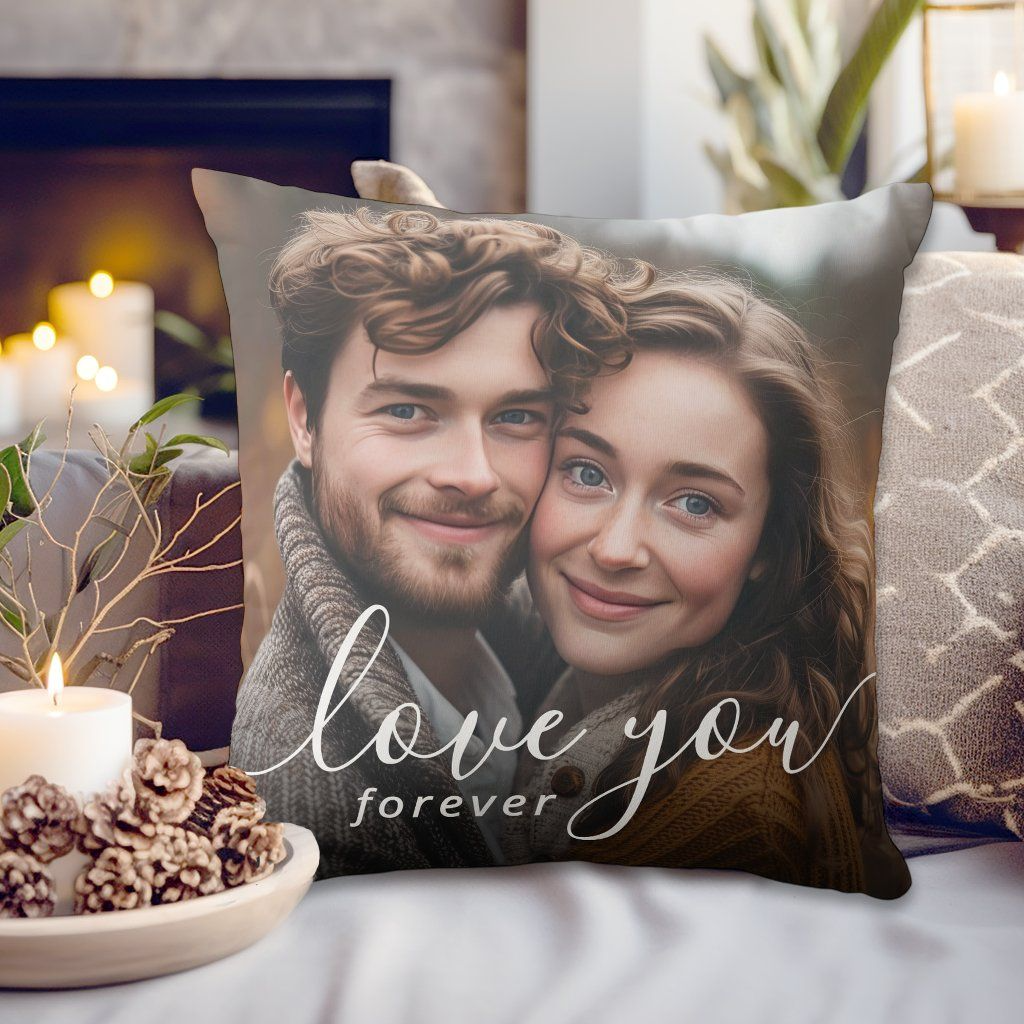
Transfer a personal photo onto fabric using transfer paper and an iron. This creates sentimental, custom gifts perfect for any home style, especially personalized nurseries or family rooms.
Common Mistakes and How to Avoid Them
| Mistake | Why It Happens | Fix |
|---|---|---|
| Puckered seams | Fabric stretched while sewing | Pin generously, sew slowly |
| Visible zipper lines | Wrong fabric weight | Use medium-weight fabric, press seams |
| Uneven trim | Rushed measuring | Mark trim placement before sewing |
| Fading dye colors | Skipped fabric fixative | Always heat-set with iron after dyeing |
| Loose buttons | Weak thread | Double-thread and knot securely |
Tips for Success
Here’s what actually matters when making DIY pillow covers:
- Always wash fabric first — shrinkage happens, and you don’t want it happening after you’ve already sewn.
- Use sharp fabric scissors — dull blades cause fraying and uneven cuts.
- Iron every seam — this single habit separates amateur-looking covers from polished ones.
- Size inserts up — buy pillow forms slightly larger than your cover for a plump, non-saggy look.
- Test stitches on scraps — especially with tricky fabrics like velvet or faux fur.
Similar Variations Worth Trying
Once you master these 25 ideas, experiment further:
- Reversible covers with two different fabrics front and back
- Seasonal swap sets (four covers, one per season)
- Mixed-media covers combining knit, woven, and leather patches
- Oversized floor pillow covers using the same techniques scaled up
Wrapping It Up
Making your own DIY pillow covers isn’t just about saving money, though that’s a nice bonus. It’s about creating something that actually fits your space, your colors, and your personality instead of settling for whatever’s on the shelf. Start with the envelope or no-sew tie method if you’re nervous, then work your way toward embroidery or zippers once you’ve got the basics down.
Whichever techniques you pick from this list, remember that DIY pillow covers reward patience more than perfection—your first attempt doesn’t need to be flawless to look good on your couch.