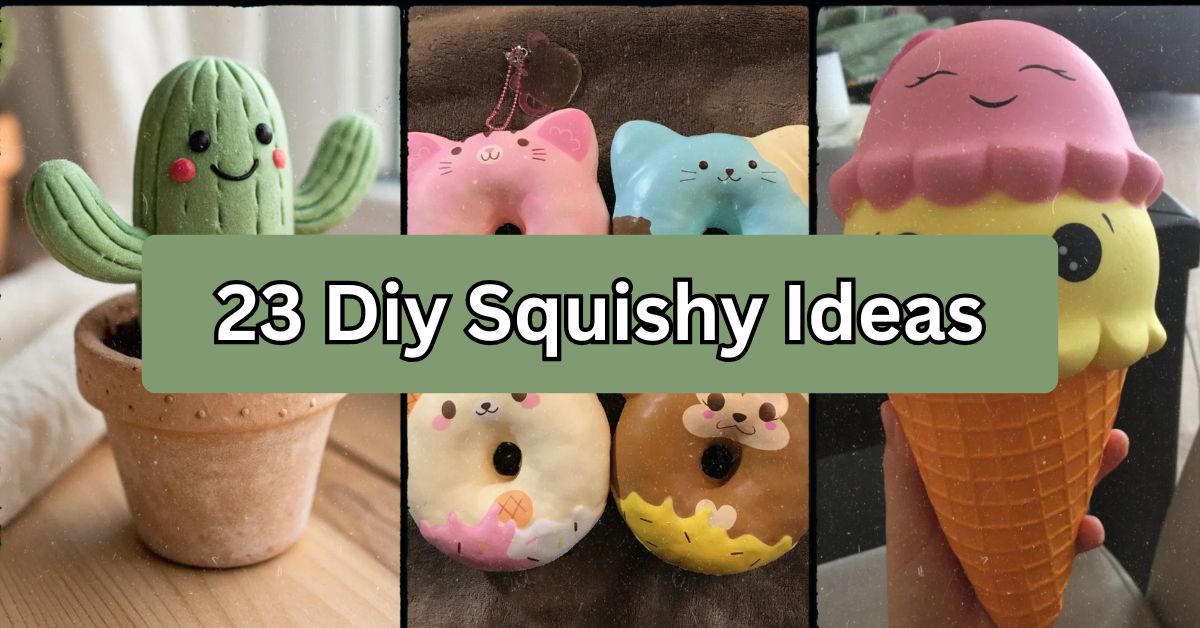
23 DIY Squishy Ideas: Fun, Easy Projects for Kids and Crafters
I have been using craft projects on my own children for years, and squishies keep being one of the favorites in my family. Years of practice allowed me to try out many types of textures, paints, and fillings ratios. So I know exactly how each idea should be done and when it will become a messy experience.
And what is the best way to create DIY squishies? The best ideas for squishies include foam food, kawaii animals, stress balls, glitter, and character-inspired squishies created with memory foam, polyurethane foam, or fabric sacks filled with stuffing.
Don’t go anywhere, because I am going to show you 23 ideas along with material lists, tips, and my own mistakes to avoid those.
What Exactly Is a DIY Squishy?
A squishy can be defined as a soft toy that, when squeezed, slowly regains its original form. It can be seen as the cute counterpart of the stress ball. Squishies typically begin their lives as a cube of foam such as polyurethane and memory foam. The foam goes through cutting, sanding, painting, and sealing processes. In some cases, people who make squishies do not go through the cutting process but sew fabric pouches filled with foam beads or rice.
1. Classic Bread Loaf Squishy
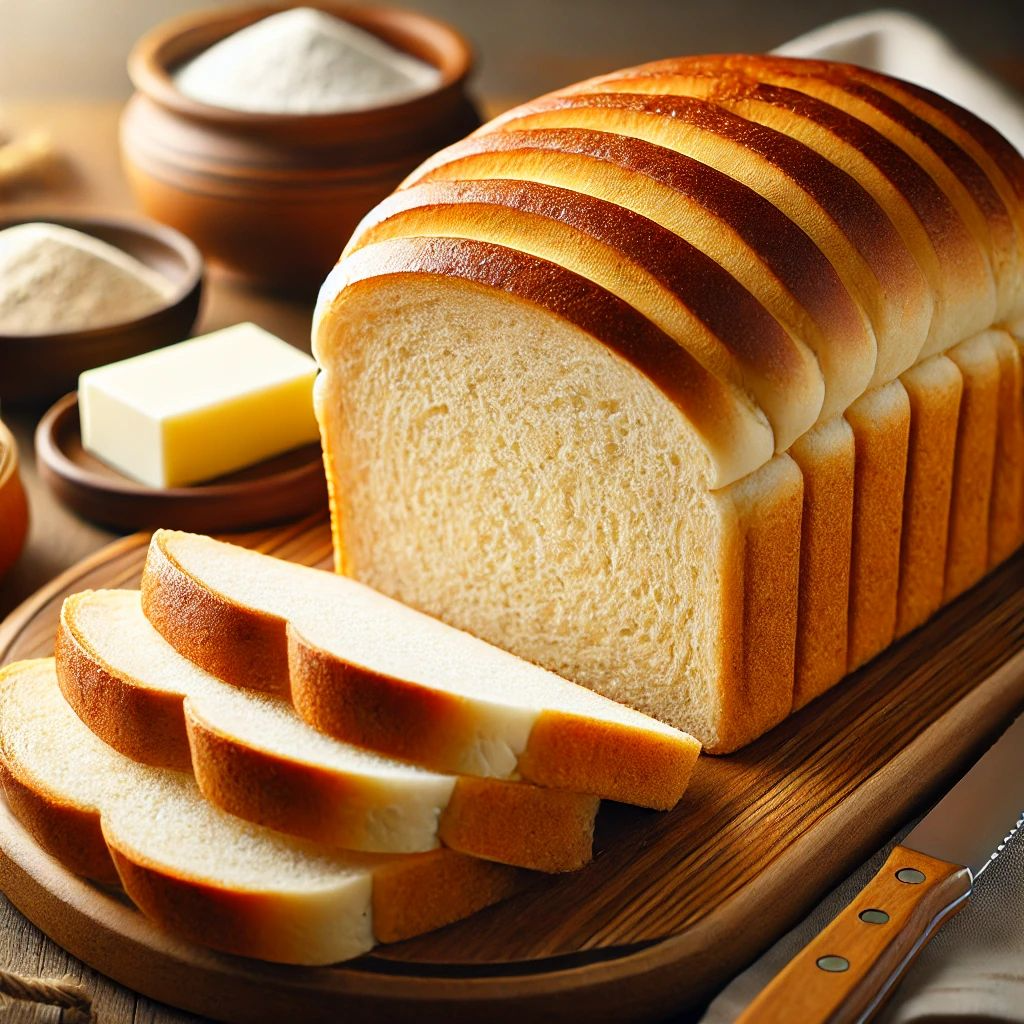
Squishies shaped like bread have started this entire trend, and they make a great first-time project. In the first step, you will need to carve a rectangular piece of foam into the shape of a round loaf, then make some realistic-looking crust lines by using a serrated edge (old bread knife does the job perfectly). Then, paint the top golden brown and the “slice” part light cream with acrylic paint mixed with fabric medium for flexibility. This particular design would fit into almost any decor, whether it is a child’s playroom or kitchen collection.
For a more toasted look, add some paint speckles. After that, seal everything with Mod Podge to avoid crumbling. Now on to the next project, which will be much juicier.
2. Strawberry Squishy with Seed Detail
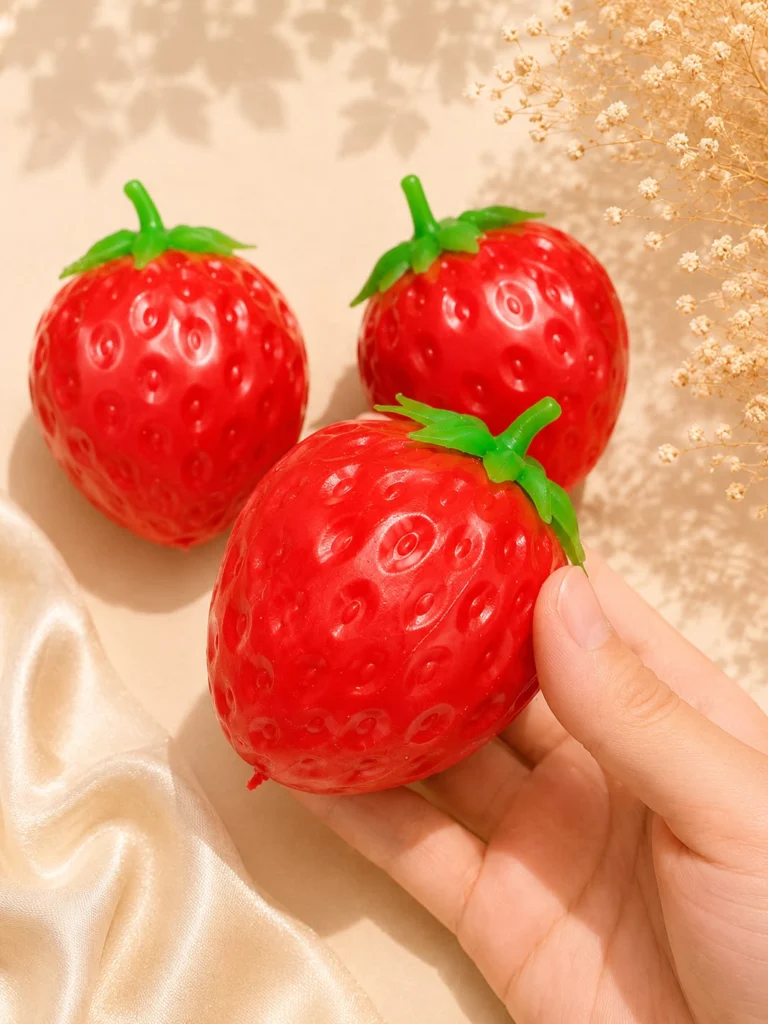
Strawberries look amazing as squishies since the contrast is simply spectacular. Start by cutting out your foam to create a teardrop shape; then, using a toothpick, poke small holes in your foam to represent the seeds. This is important because the effect really sells itself. Then paint the main portion a bright red; paint on the green stalks and leaves and use yellow paint to fill in the holes made by the toothpick.
Work somewhere ventilated, as the process of foam carving does produce a lot of dust. Great project to accompany other fruit-based squishies in a mesh basket. Let’s switch gears a bit.
3. Kawaii Cat Squishy
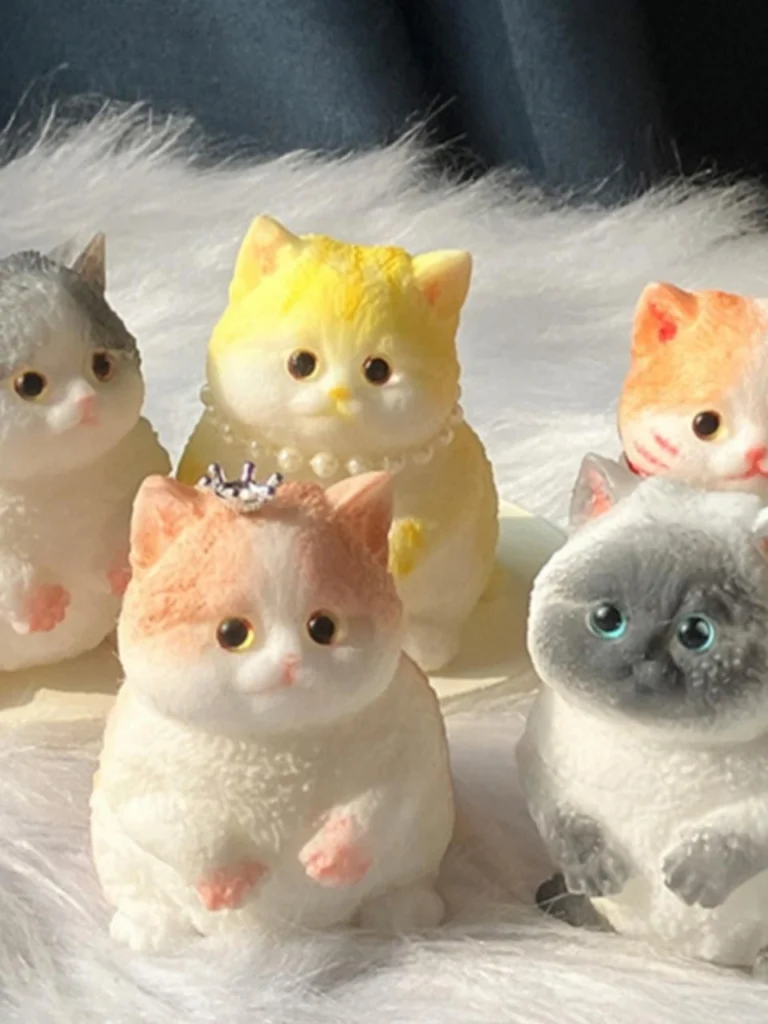
Kawaii animals make great additions to any squishy animal collection. Make a rounded body design with little triangle ears, leaving the design quite chunky rather than intricate; kawaii designs are about simple shapes. Start off by coloring the body using pastel pink, purple, or mint. Add the face using the fine-tip paintbrush to color on the closed eye lashes and add rosy cheeks to the face. One advice I have that would save you a lot of frustration is to allow the base coat to dry before painting faces.
4. Rainbow Layered Squishy

This one’s all about the reveal. You’ll layer different colored foam pieces (or paint distinct stripe sections) before assembling a round or star-shaped squishy. Cutting through the finished product reveals a rainbow cross-section, which honestly never stops being satisfying. Use bright, saturated acrylic paints for maximum contrast. This design works wonderfully as a fidget toy for anxious hands and looks great displayed on a shelf next to other colorful crafts.
5. Ice Cream Cone Squishy
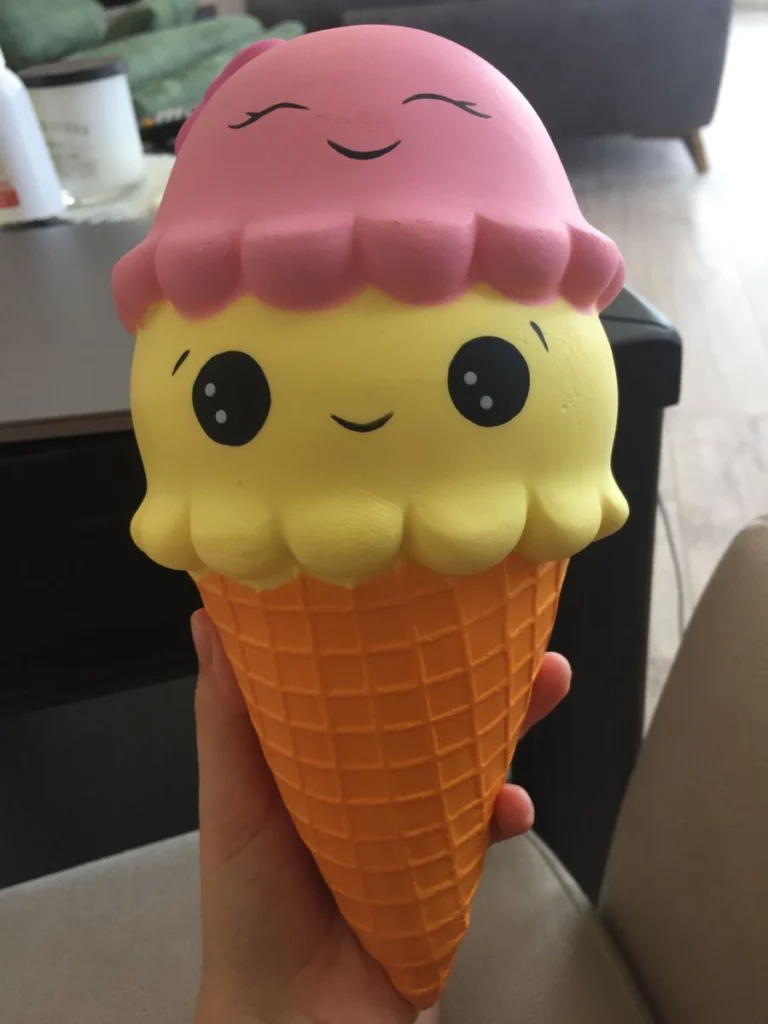
Ice cream squishies require a two-part build: a triangular waffle cone section and a rounded scoop top. Texture the cone with a crosshatch pattern using a toothpick before painting it tan. For the scoop, swirl two paint colors together while wet to mimic a marbled ice cream look. Add a tiny painted cherry on top for extra cuteness. This works great as a summer-themed craft project for kids stuck indoors.
6. Donut Squishy with Sprinkles
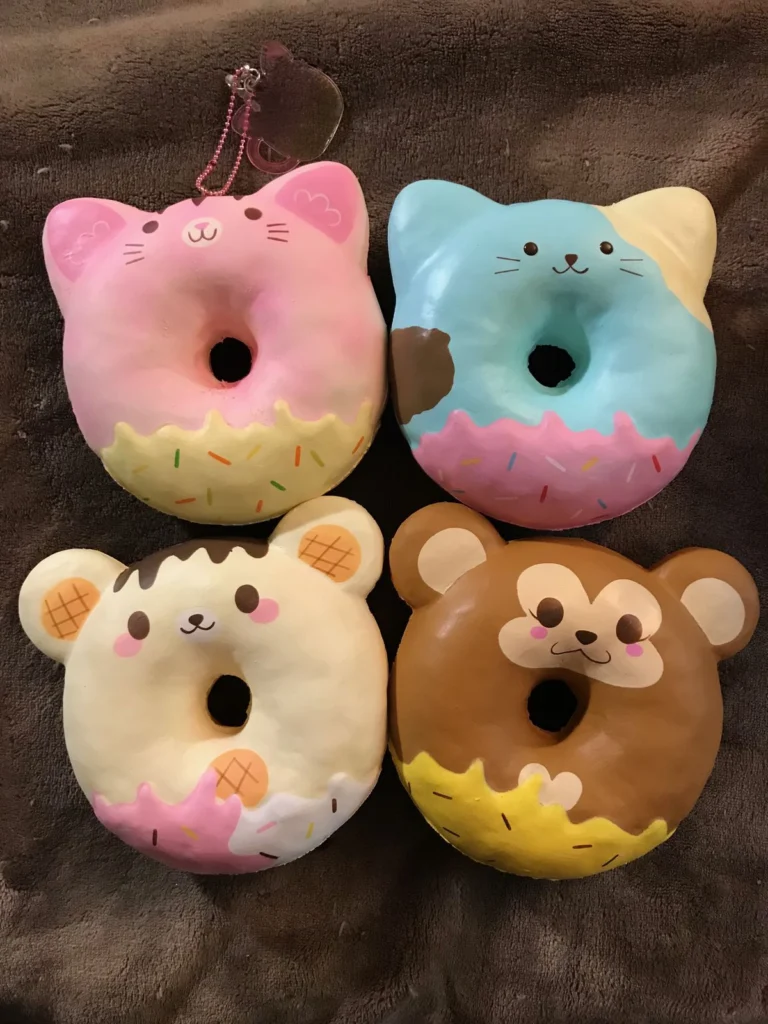
Carve a simple torus (ring) shape from your foam block, then paint the top half in your favorite frosting color—pink, chocolate, or vanilla all work well. While the paint is still tacky, press tiny paint dots randomly across the surface to create sprinkles. This squishy pairs perfectly with the bread loaf and strawberry designs for a full “bakery” themed collection.
7. Slow-Rise Stress Ball Squishy
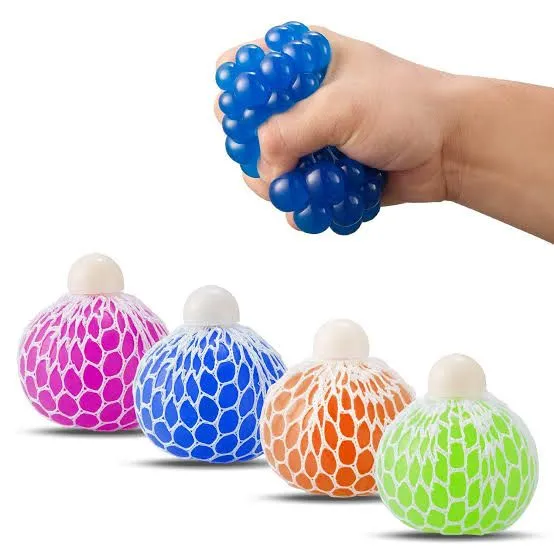
Sometimes simple wins. A plain round squishy made from dense memory foam offers the best slow-rise squeeze sensation. Skip elaborate painting here and focus purely on texture and density instead. This design suits anyone dealing with anxiety or restlessness since the satisfying squeeze-and-release motion genuinely helps calm nervous energy.
8. Emoji Face Squishy
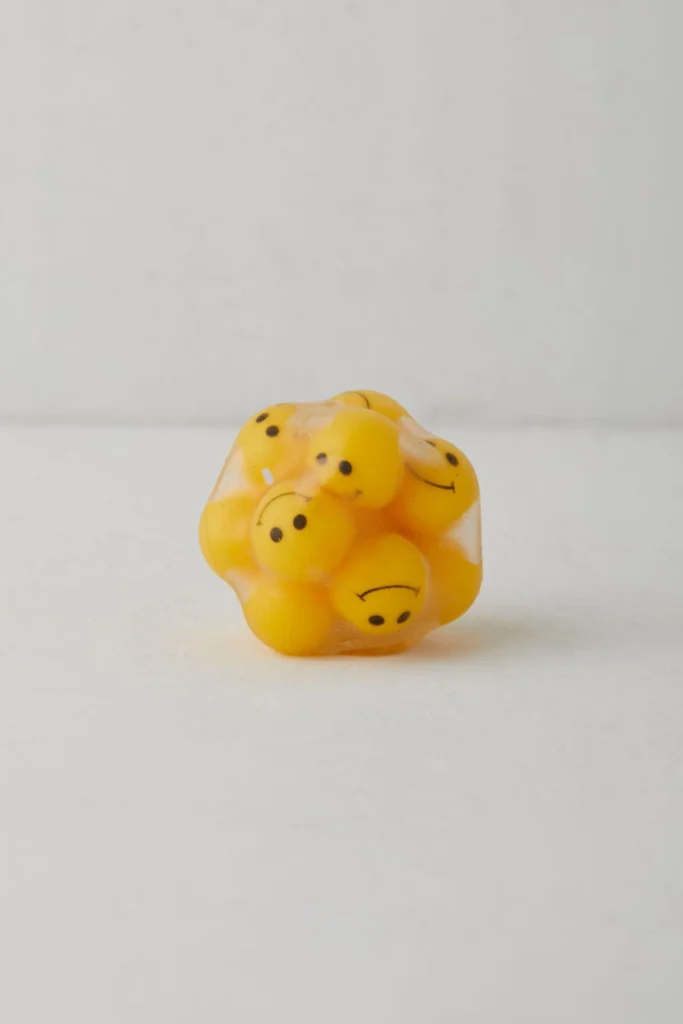
Flatten your foam into a disc shape, then paint a bright yellow base. Use black paint for simple emoji expressions—winking, laughing, or heart-eyes all translate well onto a round shape. Kids love collecting a whole set of different emoji moods.
9. Sushi Roll Squishy

Layer white foam (rice), a darker strip (nori seaweed wrap), and a pink or orange center (fish) for a surprisingly realistic sushi squishy. This one requires more careful layering than most projects, so it suits intermediate crafters rather than total beginners.
10. Cactus Squishy in a Pot
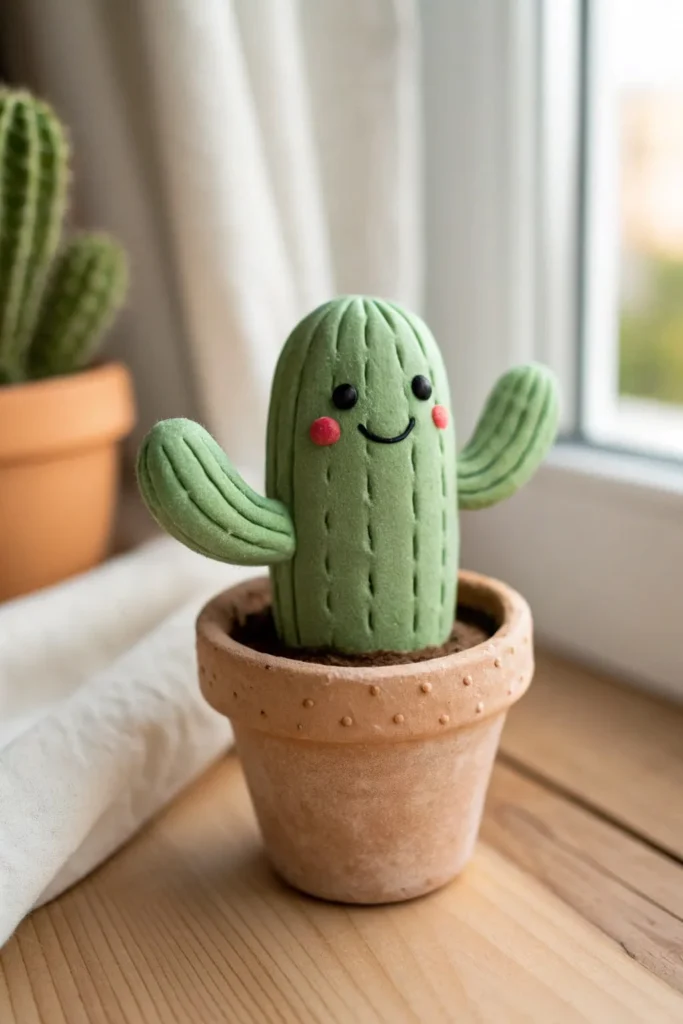
Carve a simple cactus silhouette, add texture lines with a toothpick, then paint it green with tiny yellow paint-dot flowers. Attach it to a small terracotta-painted foam base for the “pot” effect. This adds a fun desk decoration for plant lovers who don’t want the responsibility of watering anything.
11. Panda Squishy

Round body, black paint patches around the eyes and ears—pandas are forgiving shapes for beginners. Use a mostly white base with black accents, and finish with pink blush cheeks for extra charm.
12. Avocado Squishy (Two-Toned)

Carve an avocado half, keeping a rounded pit indent in the center. Paint the outer skin dark green, the inner flesh lighter green, and the pit a warm brown. This trendy design suits modern minimalist rooms with a botanical theme.
13. Glitter-Filled Slime Squishy

Instead of solid foam, fill a clear stretchy pouch with slime and glitter for a completely different sensory experience. This variation isn’t technically a foam squishy, but it satisfies the same squeeze-and-relax craving.
14. Watermelon Slice Squishy
 Credit: Pinterest
Carve a wedge shape, paint the rind dark green, the inner rim white, and the flesh bright pink or red. Add black seed dots once the base coat dries completely.
15. Squishy Keychain Mini Set

Take any design above and shrink it down to keychain size. Attach a small metal ring before your paint fully cures so it embeds securely into the foam.
16. Bread Bun Character Squishy

Similar to the bread loaf but rounder, with a simple smiling face painted on front. This design became popular through Japanese stationery brands and remains a nostalgic favorite.
17. Pizza Slice Squishy

Carve a triangular wedge, paint the crust edge golden brown, the sauce layer red, and add small paint-dot “pepperoni” circles across the cheese-colored top.
18. Squishy Dice (Fabric Version)

Using fabric instead of foam, sew a small cube pouch, stuff it with foam beads, and paint or embroider dice pips onto each side. This variation suits crafters who prefer sewing over foam carving.
19. Cloud Squishy with Rainbow

Carve a soft, rounded cloud shape and paint it white. Add a small rainbow arc across one corner using thin paint lines in sequential colors.
20. Squishy Burger Stack

Layer separate foam pieces—bun, lettuce, tomato, patty, cheese, bottom bun—and glue them together for a squishy that actually separates into pieces, doubling as a fun stacking toy.
21. Star-Shaped Galaxy Squishy

Carve a star shape and paint it deep purple or navy, then splatter white and silver paint for a starry-night effect. This design suits kids’ bedrooms with a space theme.
22. Squishy Macaron

Carve two rounded discs with a thicker filling layer between them. Paint each shell a soft pastel color and the filling a contrasting shade for that classic French bakery look.
23. Custom Photo Squishy
Print a small image onto fabric transfer paper, iron it onto a flat fabric pouch, then stuff with foam beads. This personalized option makes a thoughtful handmade gift.
Material Comparison Table
| Squishy Type | Best Base Material | Difficulty Level | Approx. Time |
|---|---|---|---|
| Bread Loaf | Polyurethane foam | Beginner | 45 min |
| Kawaii Cat | Polyurethane foam | Beginner | 30 min |
| Sushi Roll | Layered foam | Intermediate | 1 hr |
| Glitter Slime | Clear pouch + slime | Beginner | 20 min |
| Custom Photo | Fabric + foam beads | Advanced | 1.5 hrs |
| Burger Stack | Multi-piece foam | Intermediate | 1 hr |
Tips for Success
- Always sand your carved foam lightly before painting—rough edges soak up paint unevenly.
- Mix acrylic paint with fabric medium so your squishy stays bendy instead of cracking.
- Work in small paint layers rather than one thick coat; thick paint traps moisture and slows drying.
- Use a heat gun on low setting (from a safe distance) to speed up drying between color layers.
- Keep a damp cloth nearby to fix small mistakes before paint sets.
Common Mistakes and How to Avoid Them
Mistake: Cutting foam too thin, causing it to tear during shaping.
Fix: Start with a slightly larger block than you think you need; you can always carve more away.
Mistake: Painting before the base coat fully dries.
Fix: Wait a full 24 hours between color layers, especially in humid climates.
Mistake: Skipping the sealant step.
Fix: Always finish with Mod Podge or a fabric sealant spray to prevent foam crumbles and color transfer.
Mistake: Using craft glue instead of fabric-safe glue for pouch-style squishies.
Fix: Fabric glue flexes with the material; regular glue cracks and peels.
Similar Variations You Can Try
- Swap foam for slow-rise polyurethane blocks sold specifically for squishy crafting kits.
- Try scented squishies by adding a drop of essential oil into the foam before sealing.
- Create a “squishy garden” set combining cactus, flower, and pot designs together.
- Experiment with holographic paint for a shimmer effect on space or galaxy designs.
I hope this rundown gave you everything you need to start your own squishy collection this weekend. Whether you go for a simple bread loaf or tackle the layered sushi roll, these DIY squishy ideas prove that a little foam, paint, and patience can turn into something genuinely fun to squeeze.